The Home Shipyard
Observations on modelling
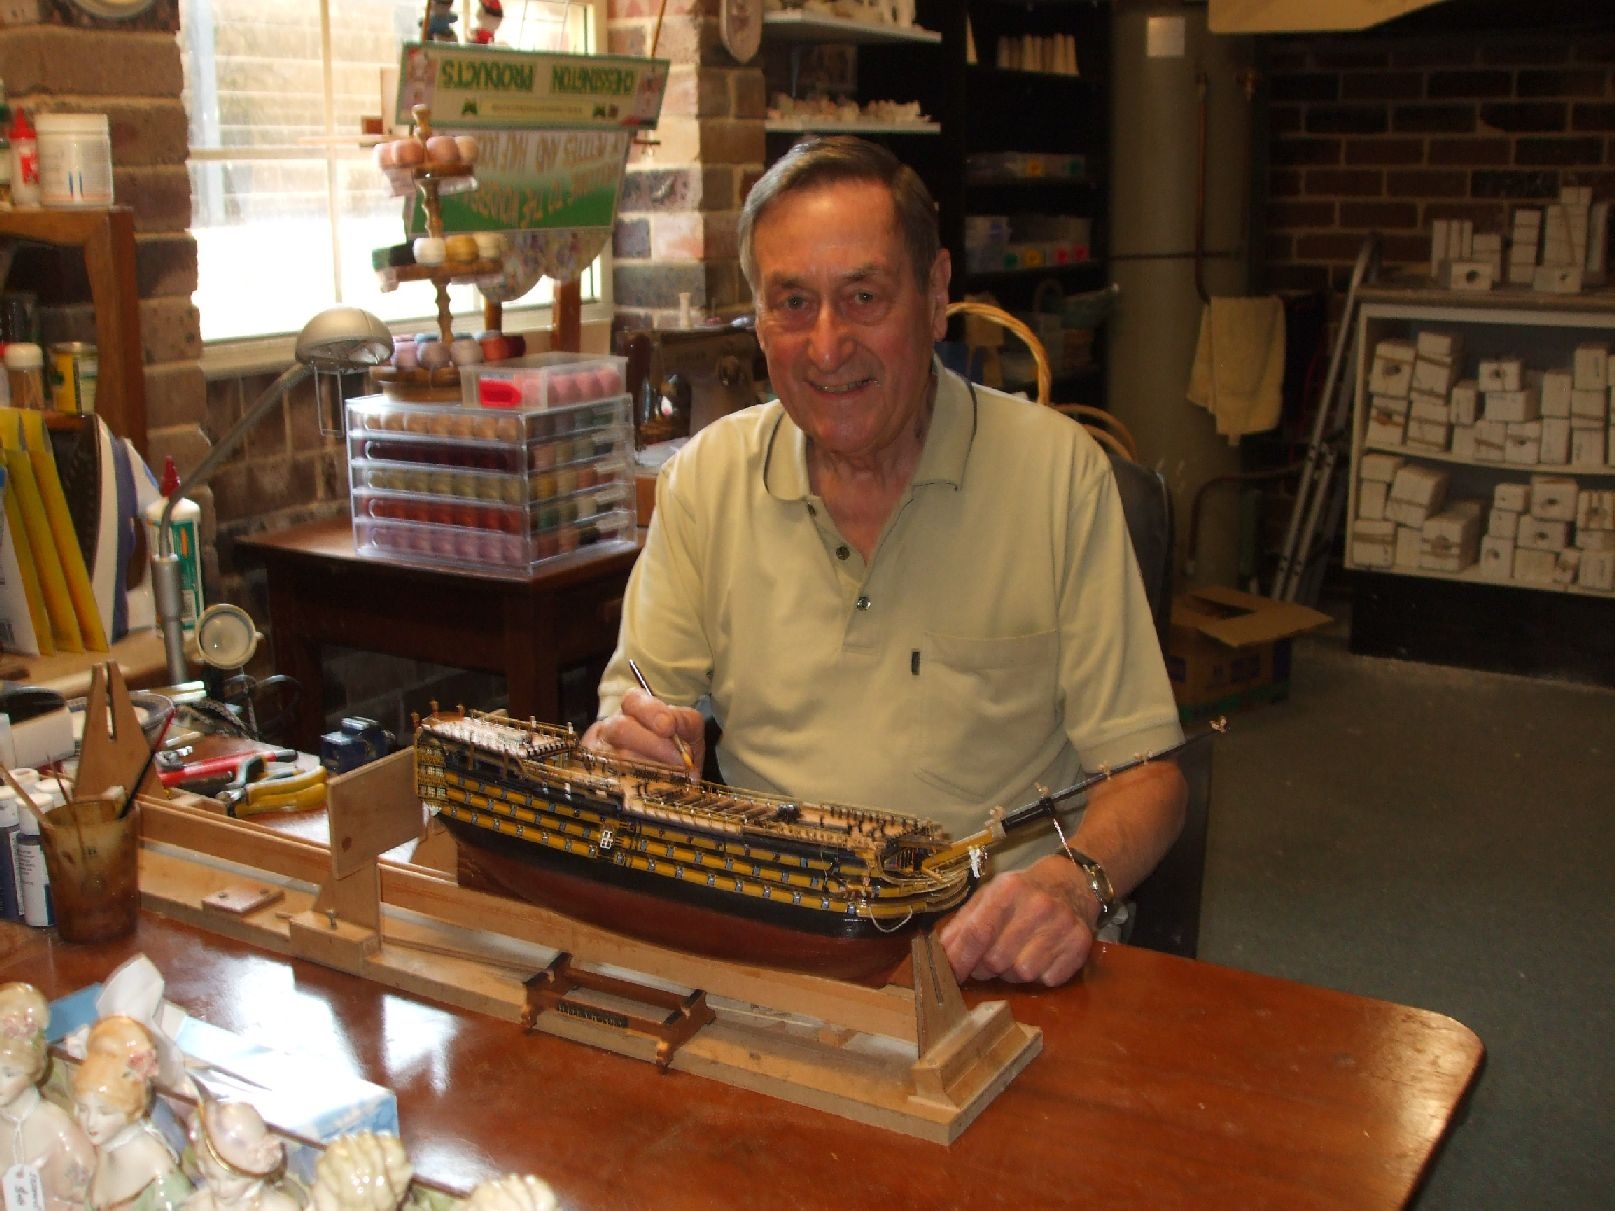
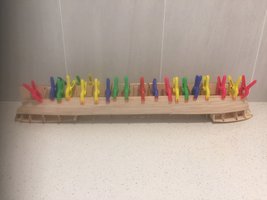
My Home Shipyard
Showing my allocated space in the workshop
(surrounded by my wife's doll production items)
Update: 2016
We moved residence in February 2016 to a single level home
more suitable for our ageing years. Our new double garage is now fully utilised for doll and half doll production which includes adequate space for my ship modelling. There being insufficient space in the house, our doll and ship displays now occupy
one half of the total garage area with workshop areas in the other half resulting in there being no room for our ageing limousine. A third garage is under construction!
Latest news. 15.1.2017
Mini palace renovations are complete but the activities with hobbies have been severely affected during this last six months, primarily with a constant stream of tradesmen but then an unfortunate accident to my wife hospitalised her for seven weeks followed by many weeks of rehab. At least our limo has it's own brand new garage! Then we have the Christmas break and its associate commitments so we hope the New Year will allow us to reconvene in the workshop! 3.2.17 Back working again, in a limited way!
Since the above, our limo let us down on the motorway twice so, after 285,000 kms we had to trade her in for a more modern form of transport - an SUV to accommodate an easily accessible walker for my wife and enough room to carry three of my smaller models to the annual Ship Modellers EXPO. We recently returned from the successful 2017 Sydney Model Shipbuilders Club EXPO held in the excellent facilities of the George's River Sailing Club, Sandringham NSW. Over 400 visitors - national and International - admired the variety of displays of modern, classic old and miniature ships and had free discussions and advice on request from club members.
At long last my 22nd model, the "Aurora" is complete and awaiting encasement. My next attempt is to tackle the 510 mms long HMS "Greyhound" which can already be seen on this website and whose step by step construction will be recorded.
Updated 8.9.2017
******************************************************************************************
A FEW THOUGHTS ABOUT HOBBIES
For any Beginner in hobby
making
Before embarking on any project, be it ship modelling or any kind of craft, one needs to examine a few personal matters. Ask yourself :-
1. Have I got the time and have I got the appropriate room to pursue the hobby?
2. Am I really enthused about the hobby I have chosen?
3. Am I sufficiently confident that I have the skills, and am I open to learning?
4. Will my hobby interfere with the normal running of the household and those affected?
5. Can I afford the expenditure which accompanies most hobbies?
6. What will I do with the end product - keep it, donate it or sell it?
7. If I keep it, will there be room to display it? (Particularly true about model ships!)
8. Do I really have the patience to handle the intracacies required of me by 'fiddly bits'?
Until these and many other aspects are considered, take time to make the decision. I found that whilst I was working in Corporate life, there was never any time for hobbies and little enough for quality time with the family! So it may be, like me, you wait until partial or full retirement comes along - and even then you'd be surprised how many other tasks are waiting to be done!
I had some advantage in that, during the 2nd World War and for a while afterwards when still in school, I did make balsa models of aircraft which provided some insight into what to expect. Additionally, during my decade or more as a seagoing officer on merchant vessels, there were a number of interesting hobbies that I attempted during 'off watch' periods and which I learned from fellow officers. Starting with 'painting by numbers', I then graduated to 'french polishing' for a while but again time was very limited as we had other responsibilities during off watch periods.
CLASSIC SHIP MODELLING FOR THE BEGINNER
In my experience, it is beneficial to start with a
large scale model such as a 1:50 or less with an uncluttered deck - which is usually illustrated on the top of the box of most models when you're browsing the Hobby shops. Also don't go for an expensive model. Stick
to the lower cost ones which, at the moment would be around $200 - $300. You'll make a number of mistakes and some will be hard to rectify so with a cheaper model, you won't be too upset! As time goes by, you'll learn how to overcome them. Some kit distributors
may indicate the degree of difficulty involved on a scale of 1 - 6, with 1 being the starter kit.
My advice for your first model would be to select a ship built after the early 1800's
as the clipper type bows were then in vogue and you'll find the plank bending much easier than earlier ship designs. In addition, look for a model that has basic rigging with few shrouds, chain plates and preferably no sails. If you select an older ship
with a very 'blunt bow', you will find great diificulty in bending the planking accurately. Wait a while before tackling one of those as many of them have very fancy fretwork and gilding to contend with.
Sails are always optional and I have the view it is not authentic to put them on models that are static, such as in drydock, so that the sails cannot be set as though at sea. You may note that I did apply sails on my earlier models starting with the "Harvey" but gradually formed the view expressed and no longer do so. With the more advanced models equipped with large amounts of impressive rigging, the addition of sails hides the complexity from the viewer. I emphasise this is just a personal opinion of mine.
In terms of space available for constructing these models, you will benefit by having a clear 1.8 m (6 ft) trestle table which will give you sufficient
work area for most models. You will need a selection of basic tools and most kit suppliers will provide you with a list of those available. You will need a small drill which will take a 0.5 drill bit and a set of micro files. The usual way of bending
planks recommended by kit makers is a plank bender but I prefer to use a smallish steam iron. Soaking in hot water is often used but again it has its downsides. Timber when wet doesn't take kindly to most adhesives but shaping with an iron doesn't present
such problems.
Before starting the construction, read all the instructions carefully. Sometimes there are difficulties in the translation from Italian or Spanish to English but one gets accustomed to the expressions used. Watch the Order of Work recommended because sometimes you wish you had by-passed a particular job as it interferes with a later one. Again with experience, you will learn to anticipate such things. The quality of the plans and the details of the procedures vary between ships and kit makers. For example, Artesania Latina and it's 'off shoot' Occre include excellent coloured photos of each major step - most useful in the early stages for beginners. Now and again, the codings used on some kit plans are confusing and the diagrams may not be mentioned in the order of work but are on the plans.
Finally, don't lose heart. Remember "If a job is worth doing, it's worth doing well". Exercise patience and persist in your efforts because they will provide you with great satisfaction. If you find yourself stuck or confused, hobby shops will often give advice but the best bet is to find an experienced modeller in your neighbourhood 'pick his/her brains'. If there aren't any close by, most of us are happy to share our knowledge with you and would respond to email enquiries.