Classic Ship Models 6/2
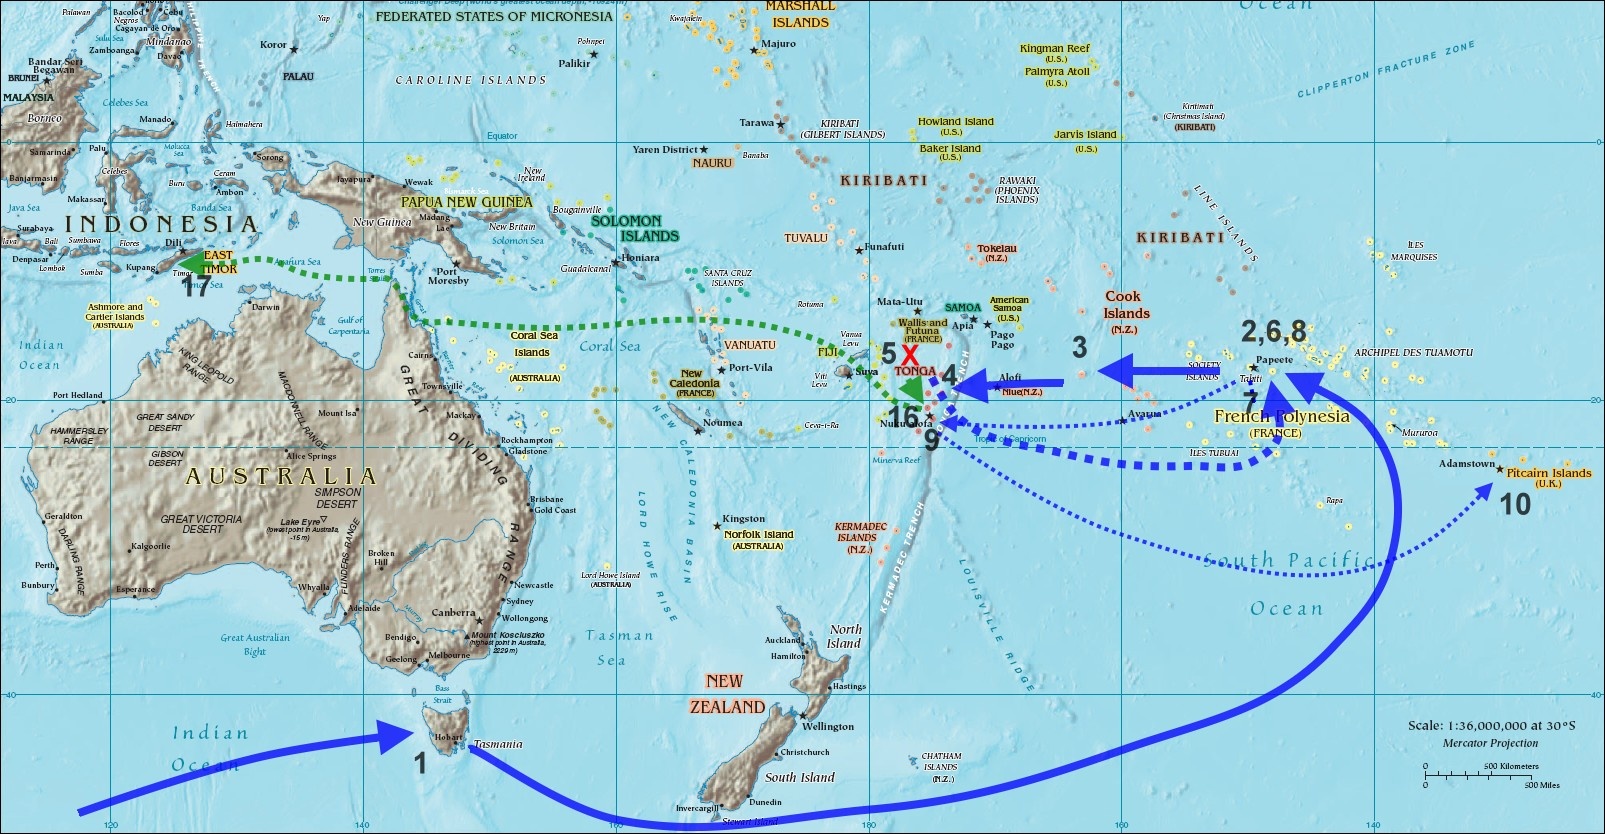
Mercator chart showing the voyage of the "Bounty" in blue under Capt. Bligh. The dotted blue under Fletcher Christian to eventually Pitcairn Island. The dotted green showing Bligh's epic whaler voyage to Indonesia.
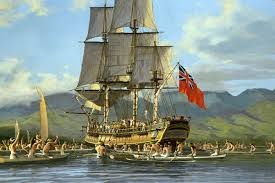
HMAV"Bounty" in Tahiti
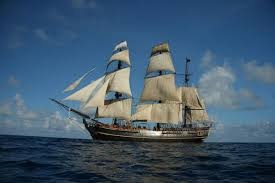
The replica of the Bounty shown at sea with sails rigged.
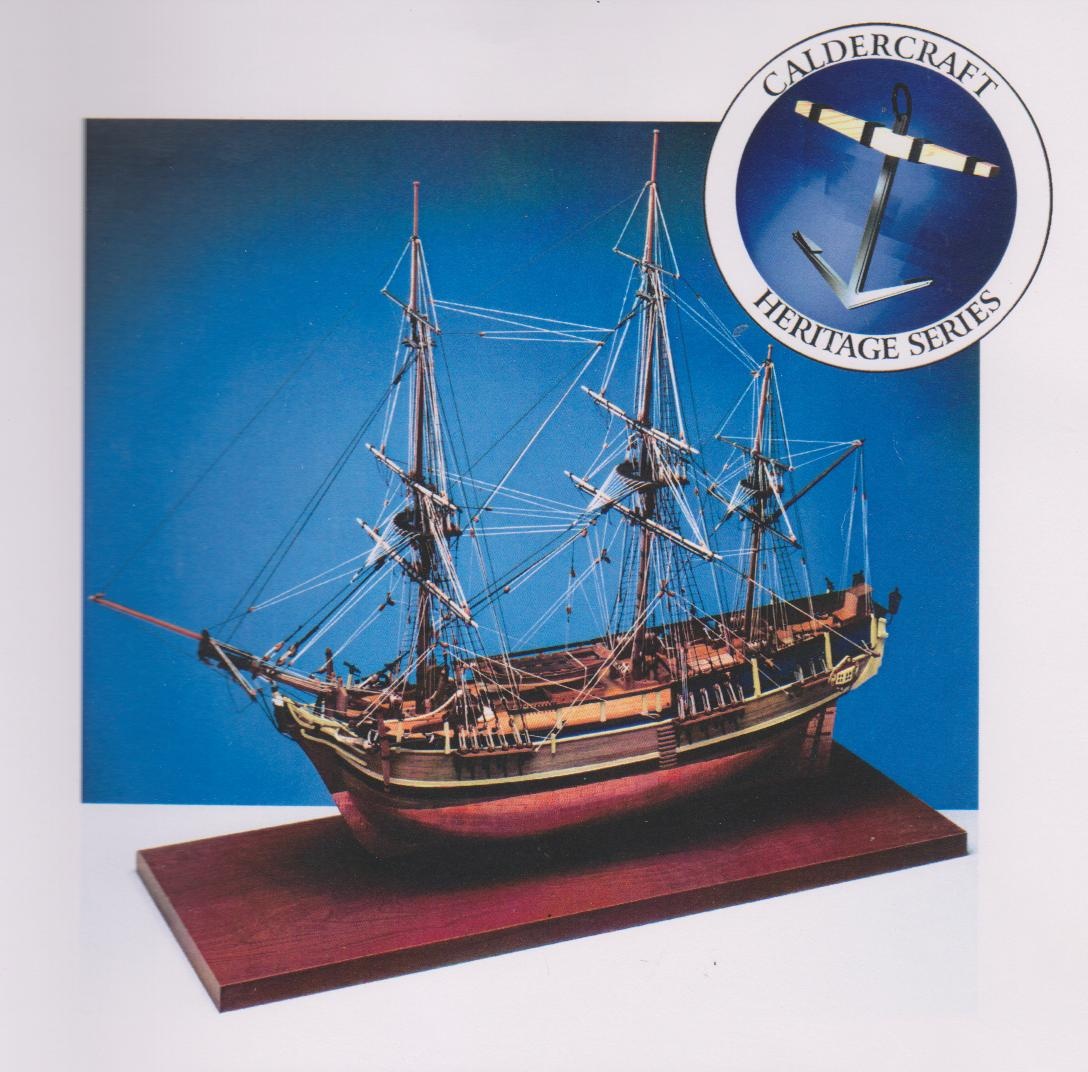
The Second Model of Bounty 1:64 scale
As mentioned in the text of the second "Victory" completed in April 2014, I wanted to build a smaller model of the "Bounty" which was commenced in the latter part of April. The kit chosen is from the Caldercraft maker of UK and when complete will be 660mms long, 540 mms In height and with a beam 245mms.
At this time writing, the second planking is is about one third complete. The frame was found to be a straightforward and well fitting exercise and the first planking of 5mm x 1 mm limewood was not too difficult although the bow section with its extreme 'bluntness' needed a lot of bending and tapering. The second planking is proving to be testing my patience. It is 4mm x 1 mm walnut which splits very easily when tapering and has 'furry' edges. Although preferable not to use pins on the second planking, I find that I have to but I use sequin pins rather than those supplied, as they are finer and somewhat longer. The bow area is giving me problems but I expected that and just have to overcome them.
Generally, to date, the kit instructions are very clear, the contents excellently listed, the plans well drawn and precise whilst the lack of laser cutting posed no problems. Further progress details are included beside the following photos.
Updated 19.7.2015
The Caldercraft Model
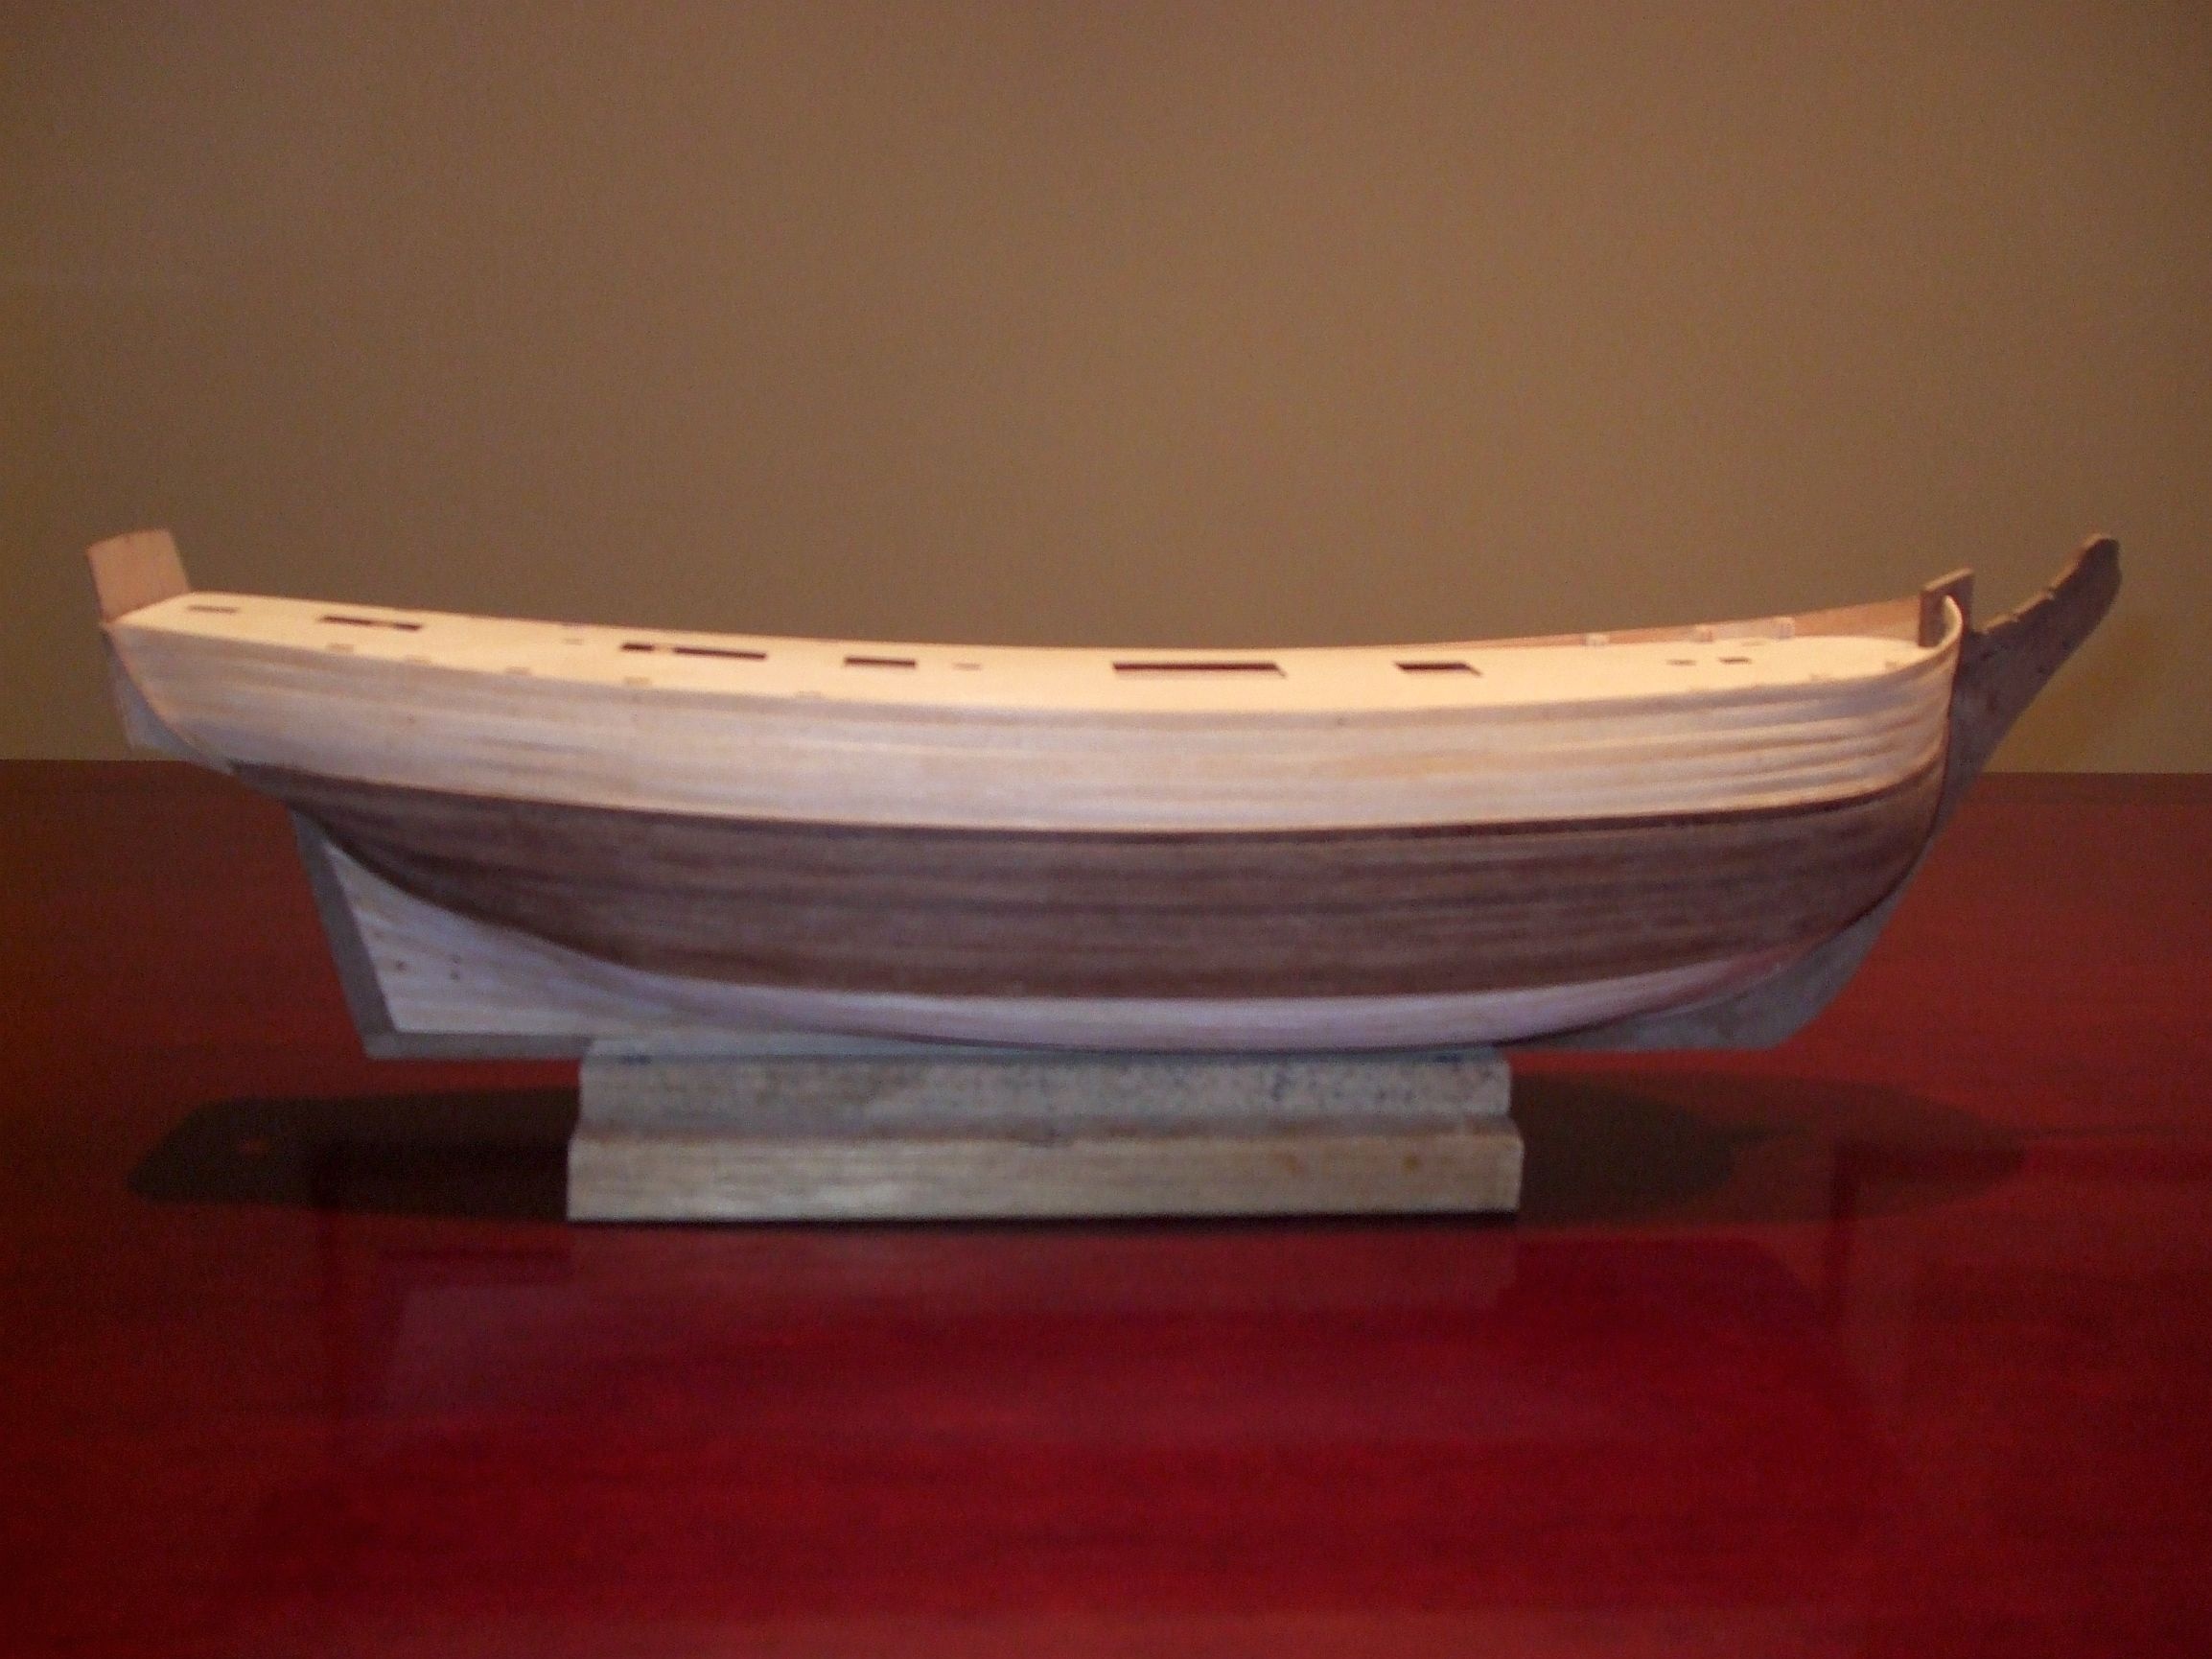
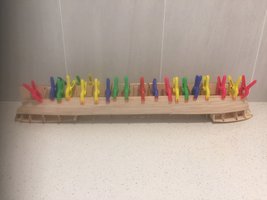
Caldercraft model of Bounty - 2nd planking one third complete June 16th 2014. The limewood first planking is clearly shown above and below the walnut second planking. The upper section is to be completed after the lower part covered. The 2nd planking below the waterline is to be covered with copper plates.

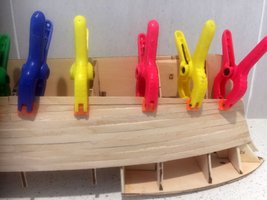
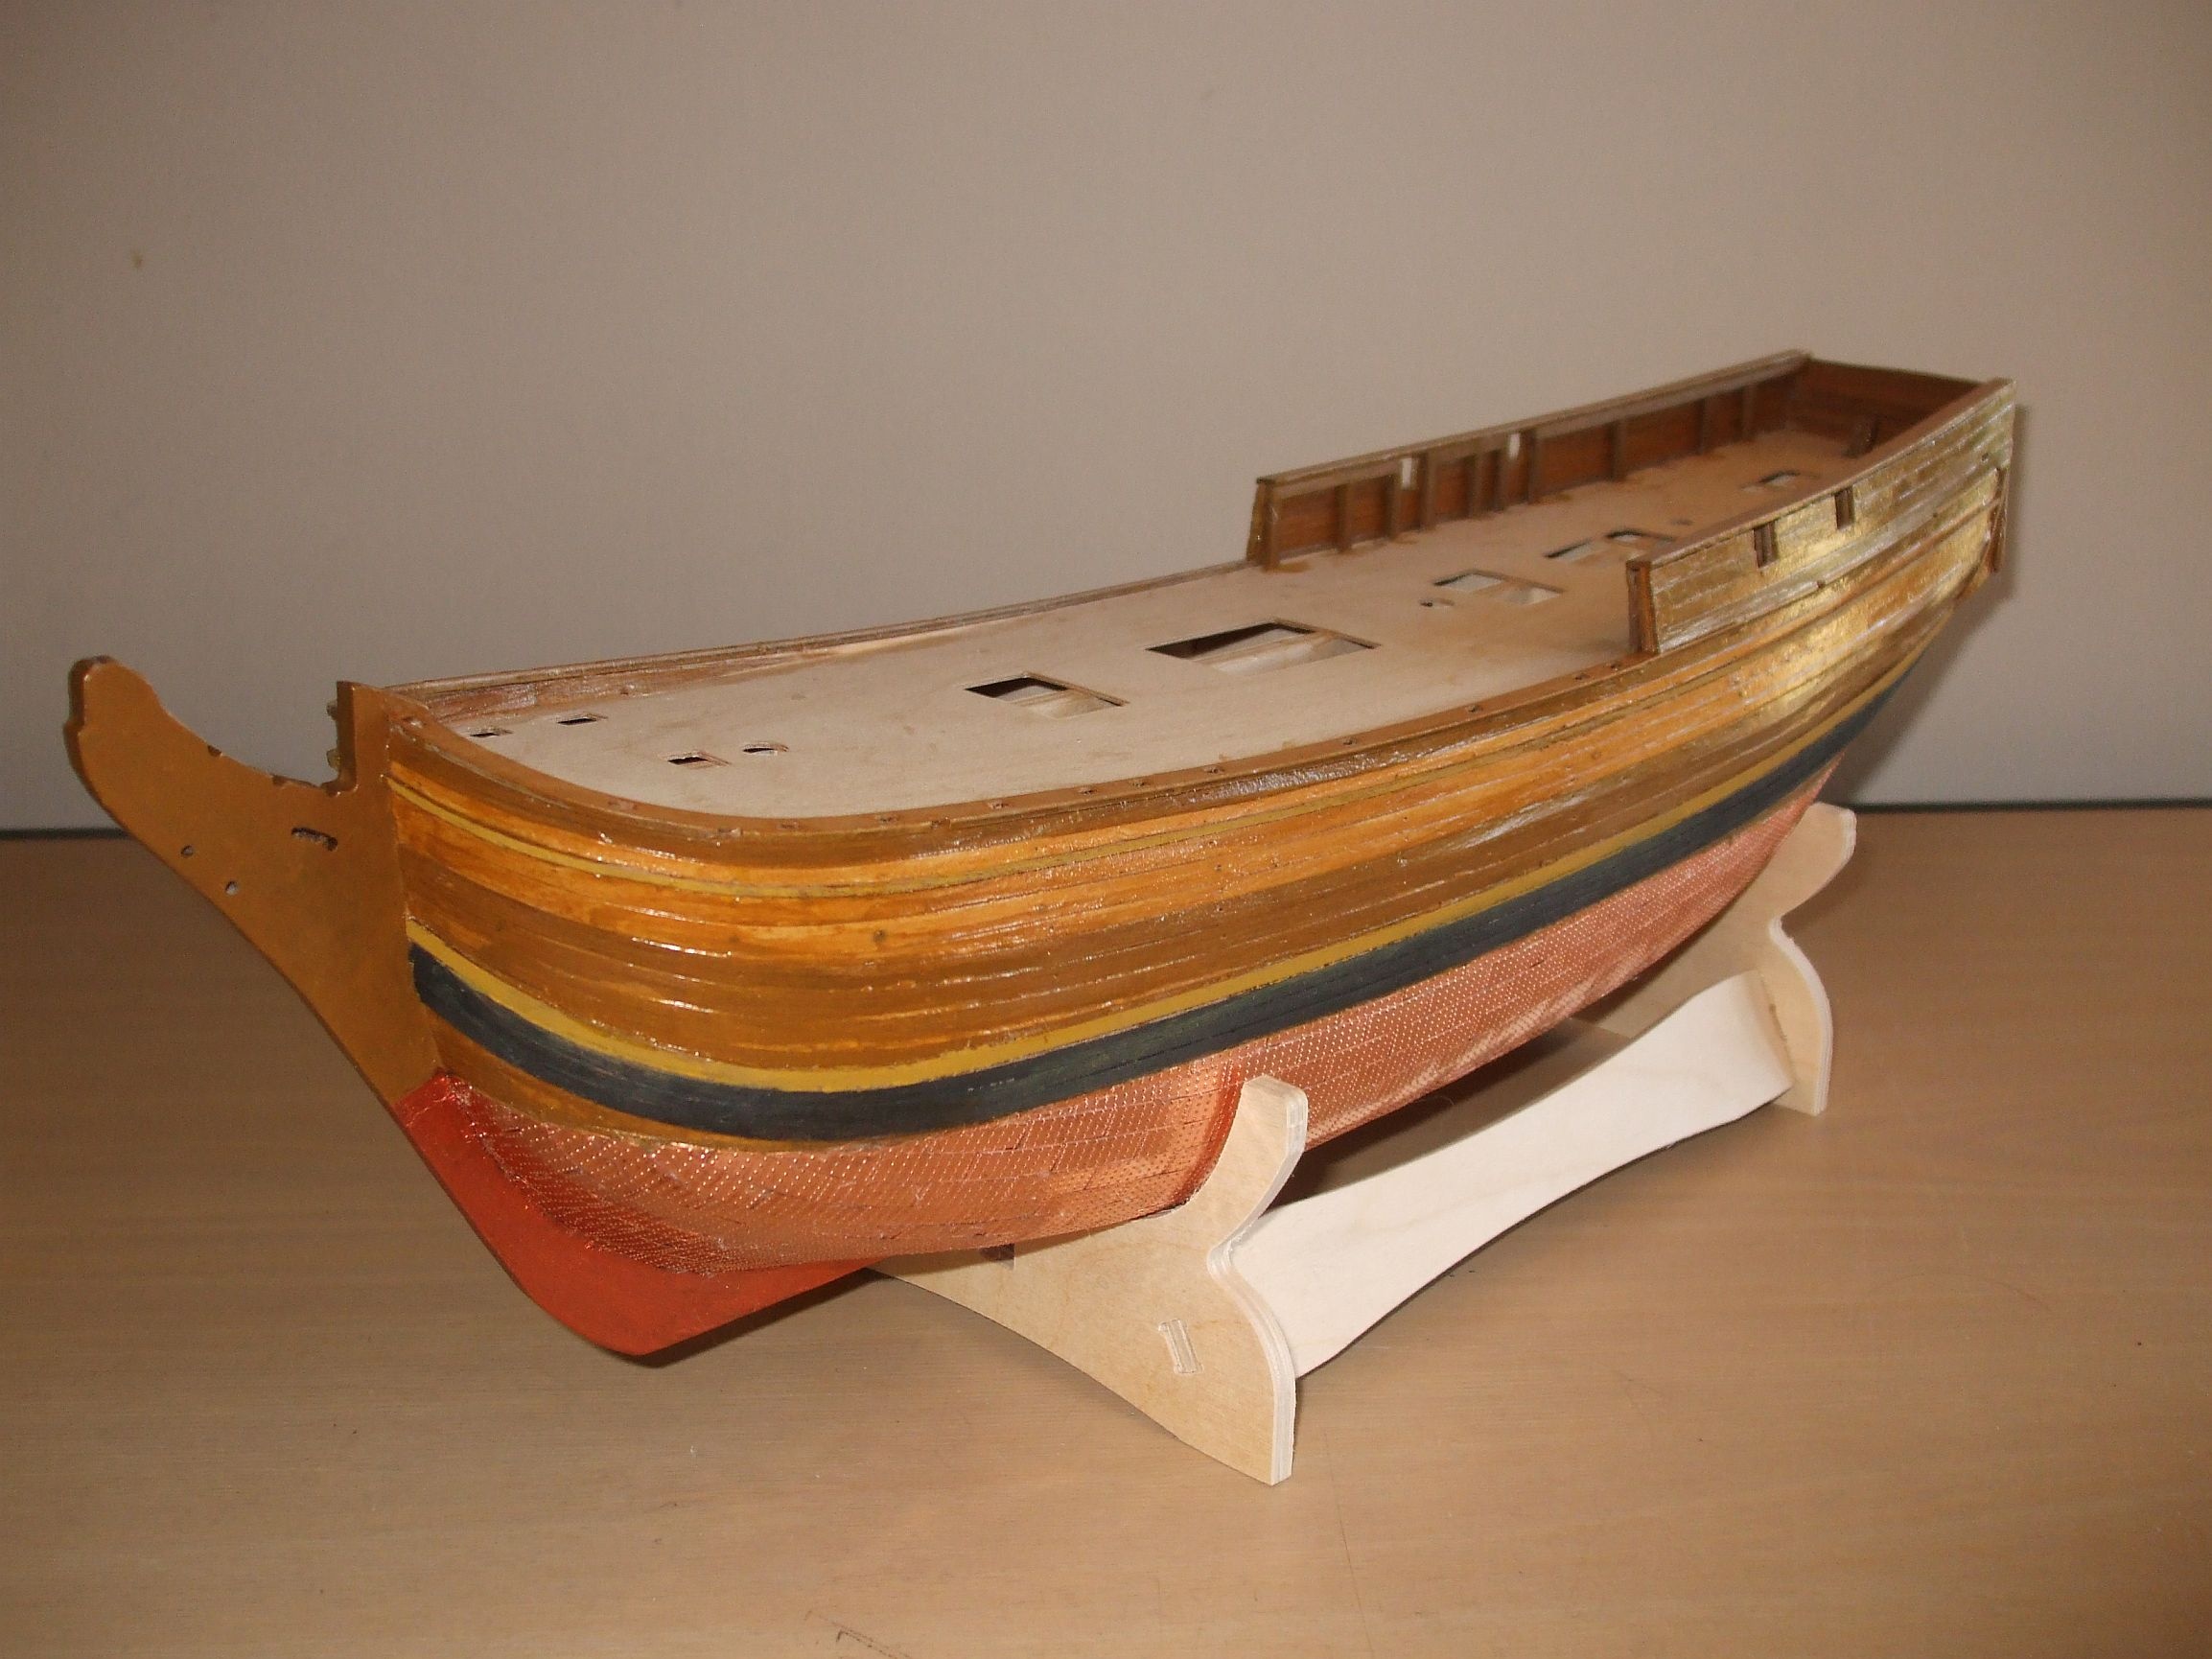
Here she is with the copper bottom plates installed after many hours of labour! It took approximately 750 plates each of 18 mmsx5 mms, many of them cut to fit as can be seen in the next photos. The paint job elsewhere is only one coat so she will be improved in that area. The timbers vary in colour and finish so much more work is to be done on them. After that comes the deck work! The plates are secure with a medium/thick cyano adhesive as recommended but it took a while to determine the amount required - ie. too much made a mess and too little was, as expected, insufficient to retain adhesion. Caldercraft correctly suggest placing a spot of the glue in the middle of the plate and slide it on the surface to spread glue to the extremities. Handling with small flat tweezers is for the application is essential. As expected, the hardest part is making the uppermost edge on the waterline, straight. It took exactly two weeks of about 3 hrs daily to complete.
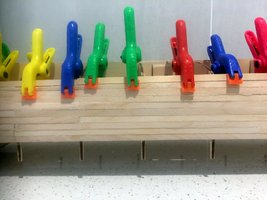
Just another angle which emphasises the bluntness of the bow, so typical of the ships of that era.
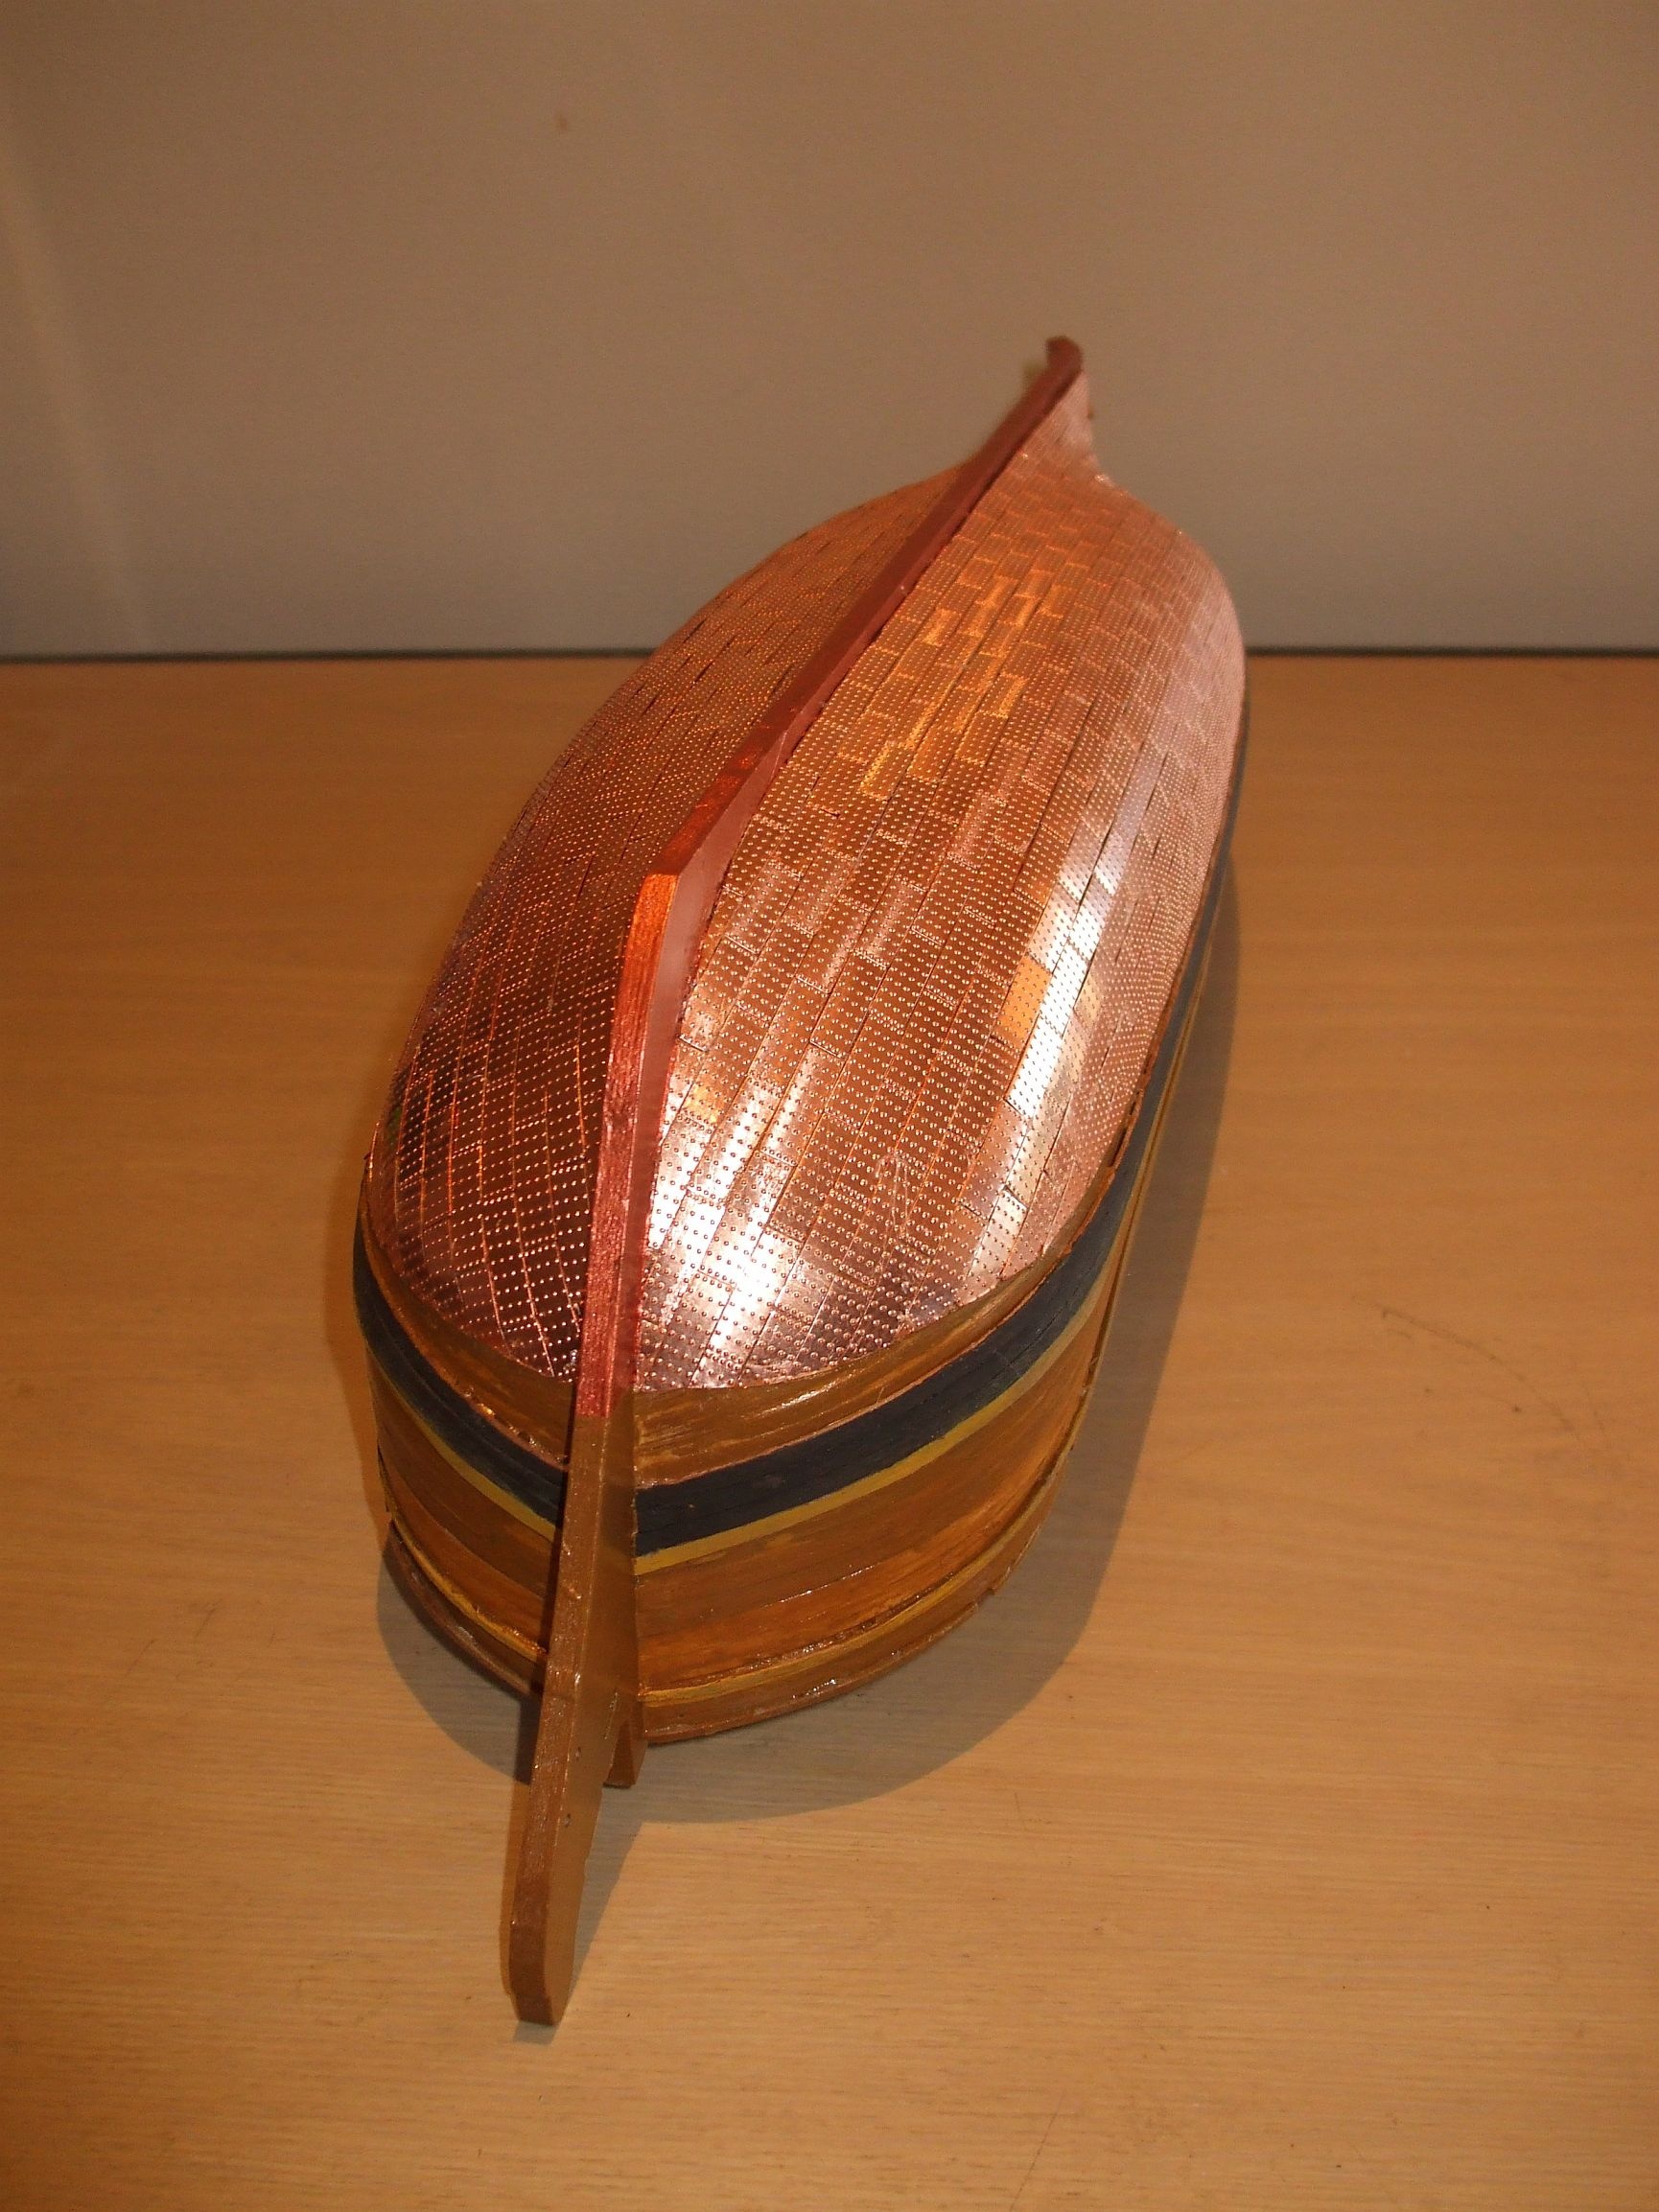
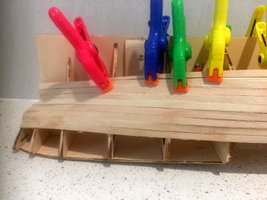
This depicts a little more clearly the brick laying style of the plate laying and the tapering and cutting required to achieve the hull shape and the straight waterline.
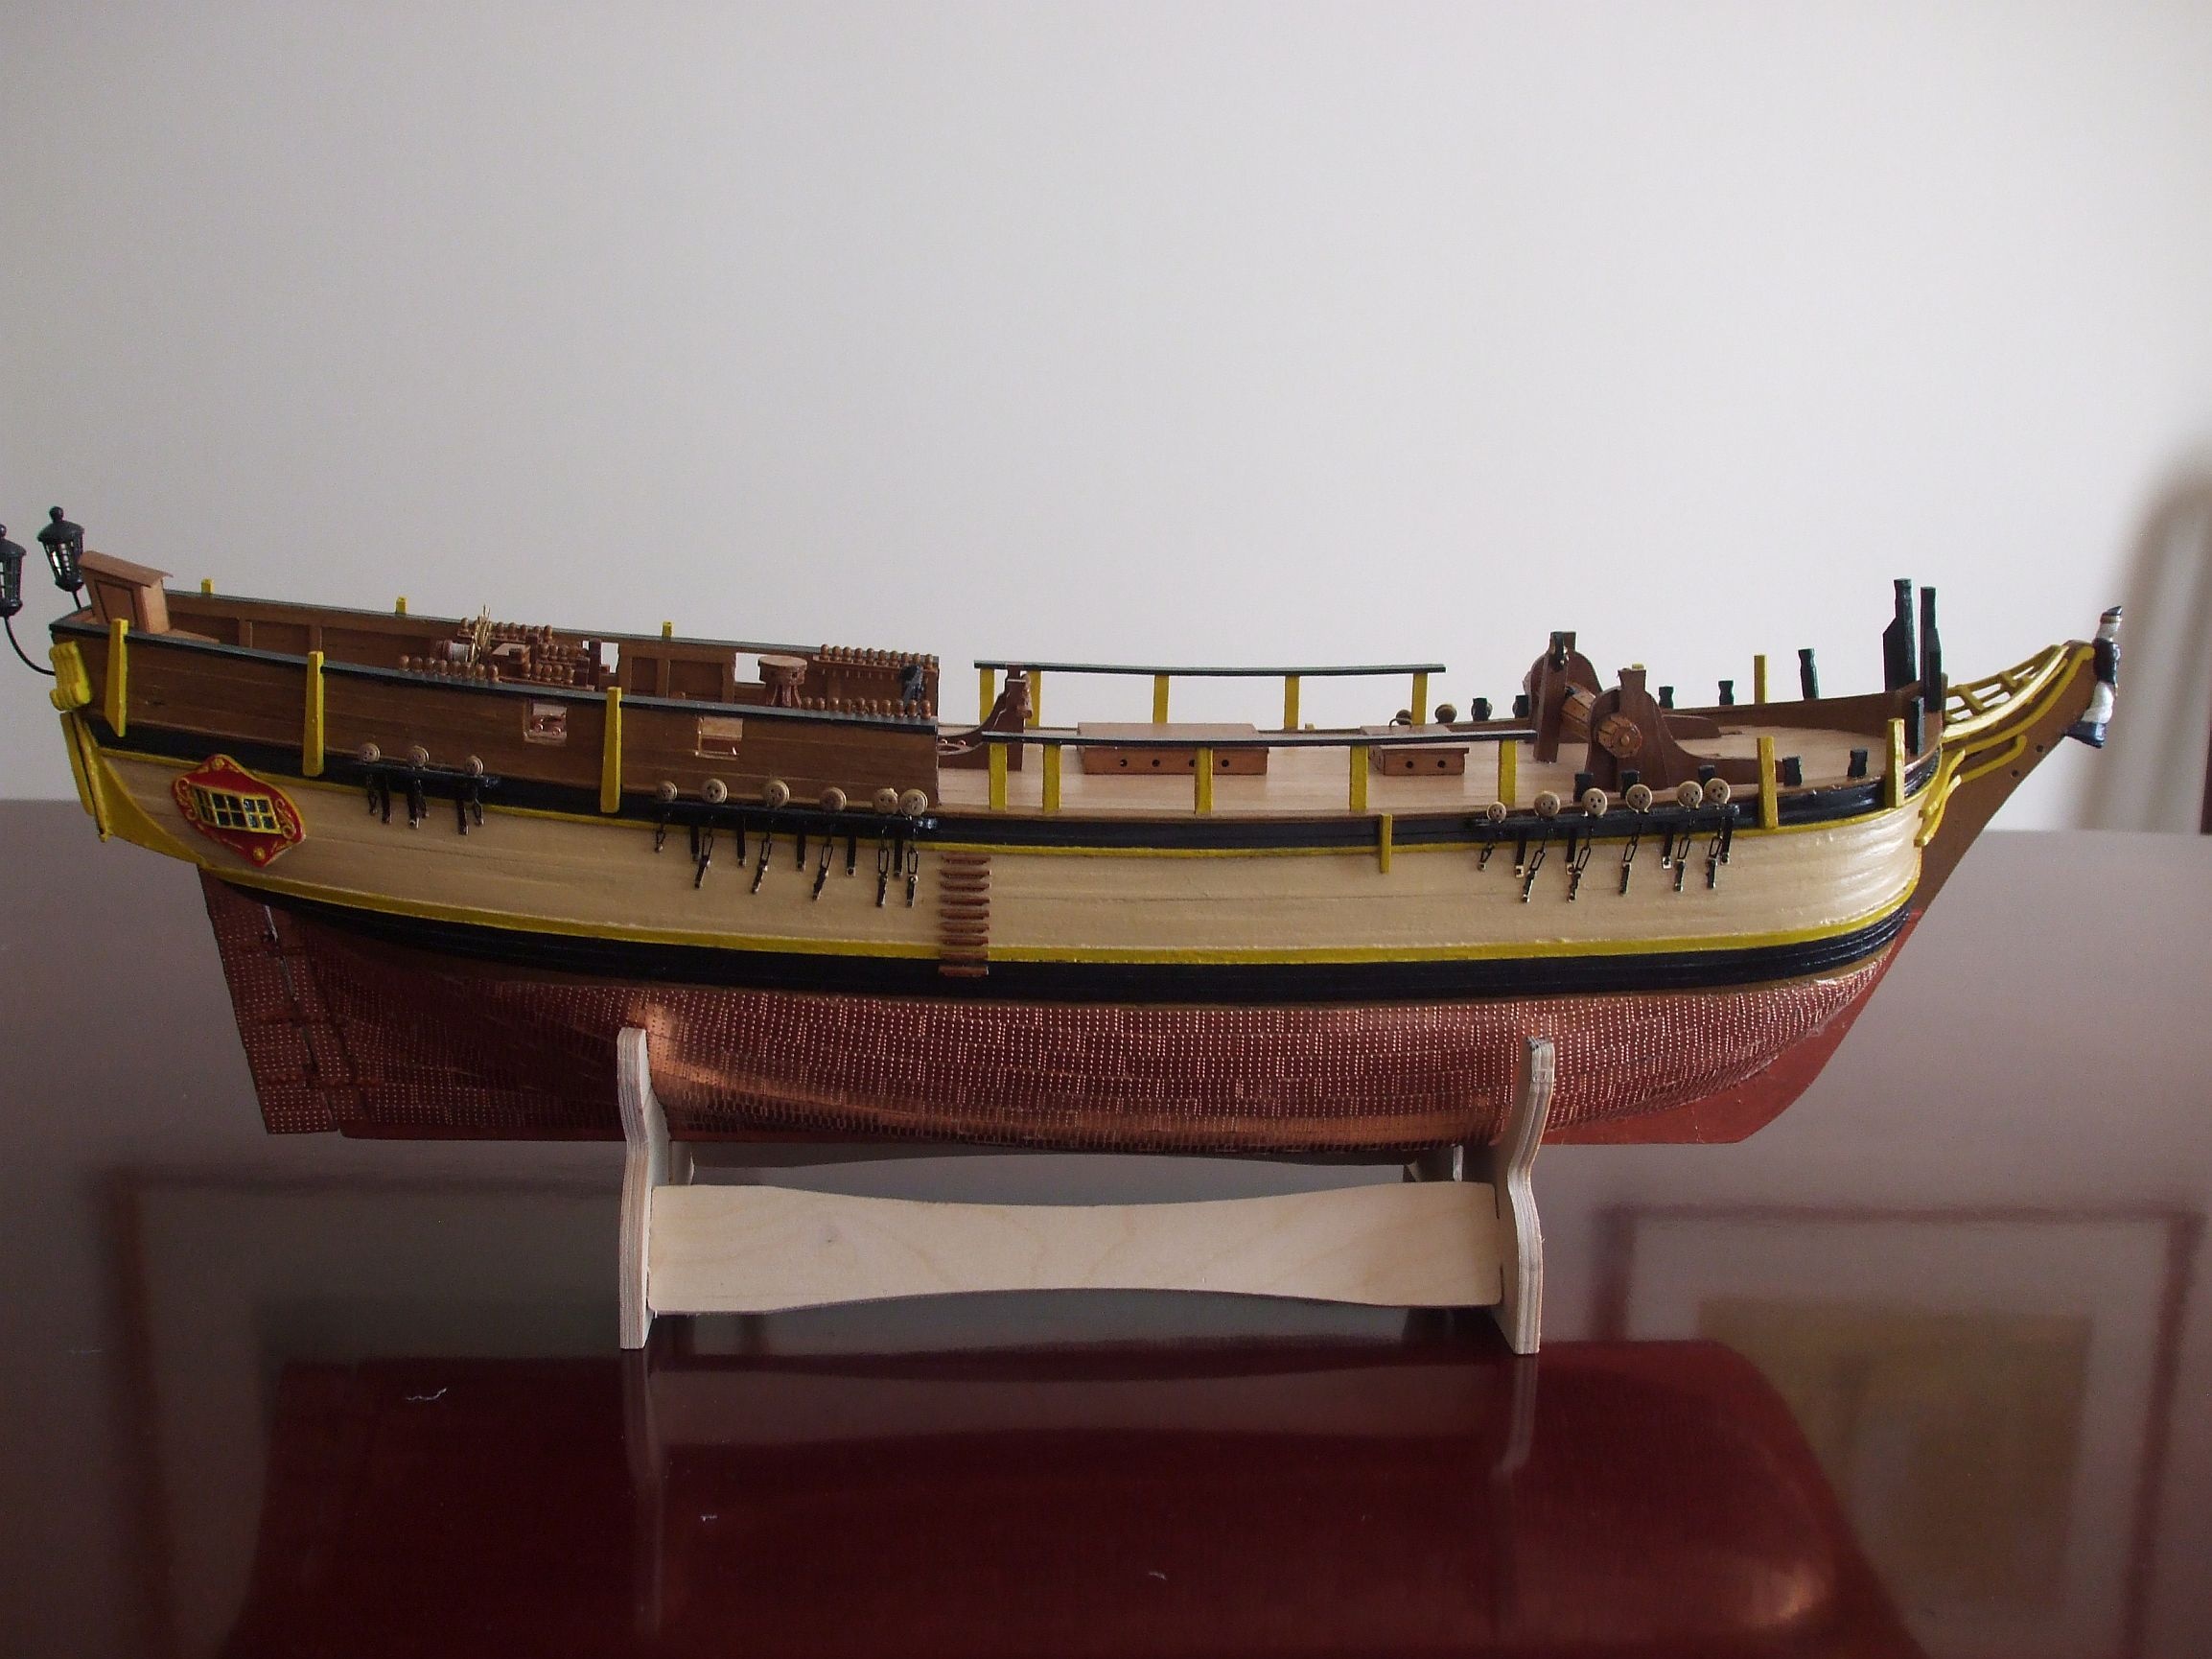
September 2014 - the hull is complete and the external fittings are in place. The painting is finished subject to final touch ups!
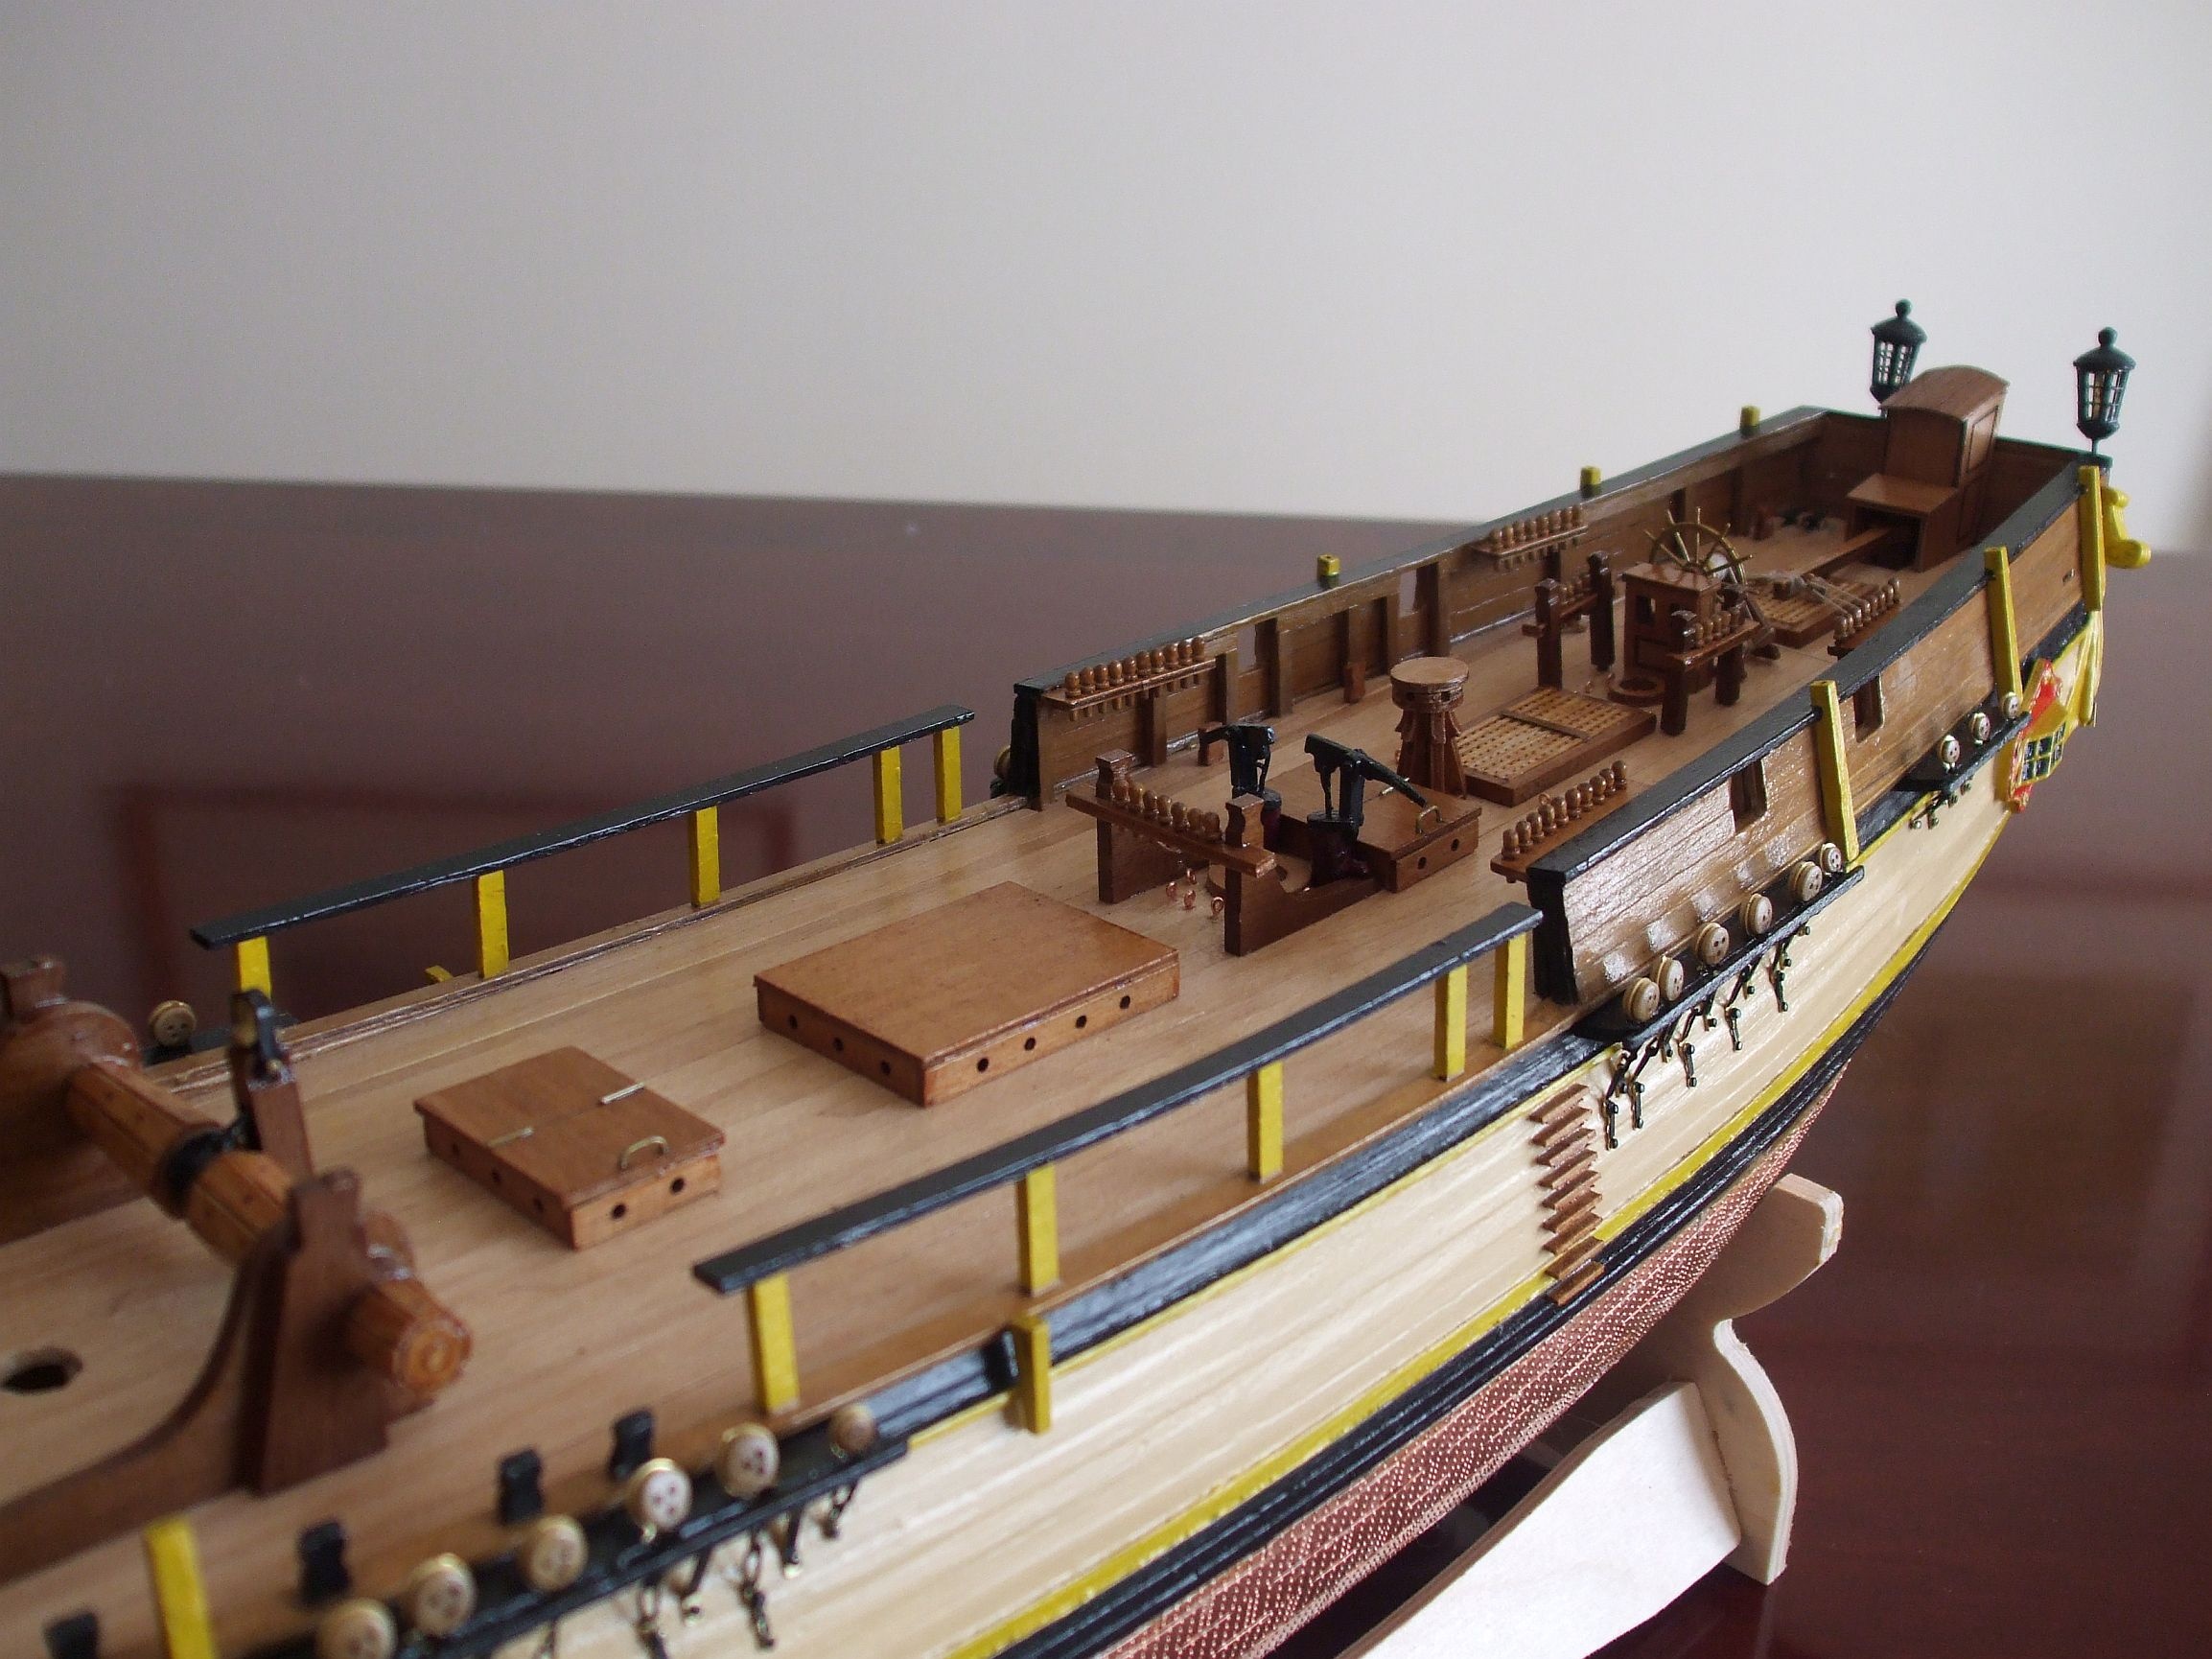
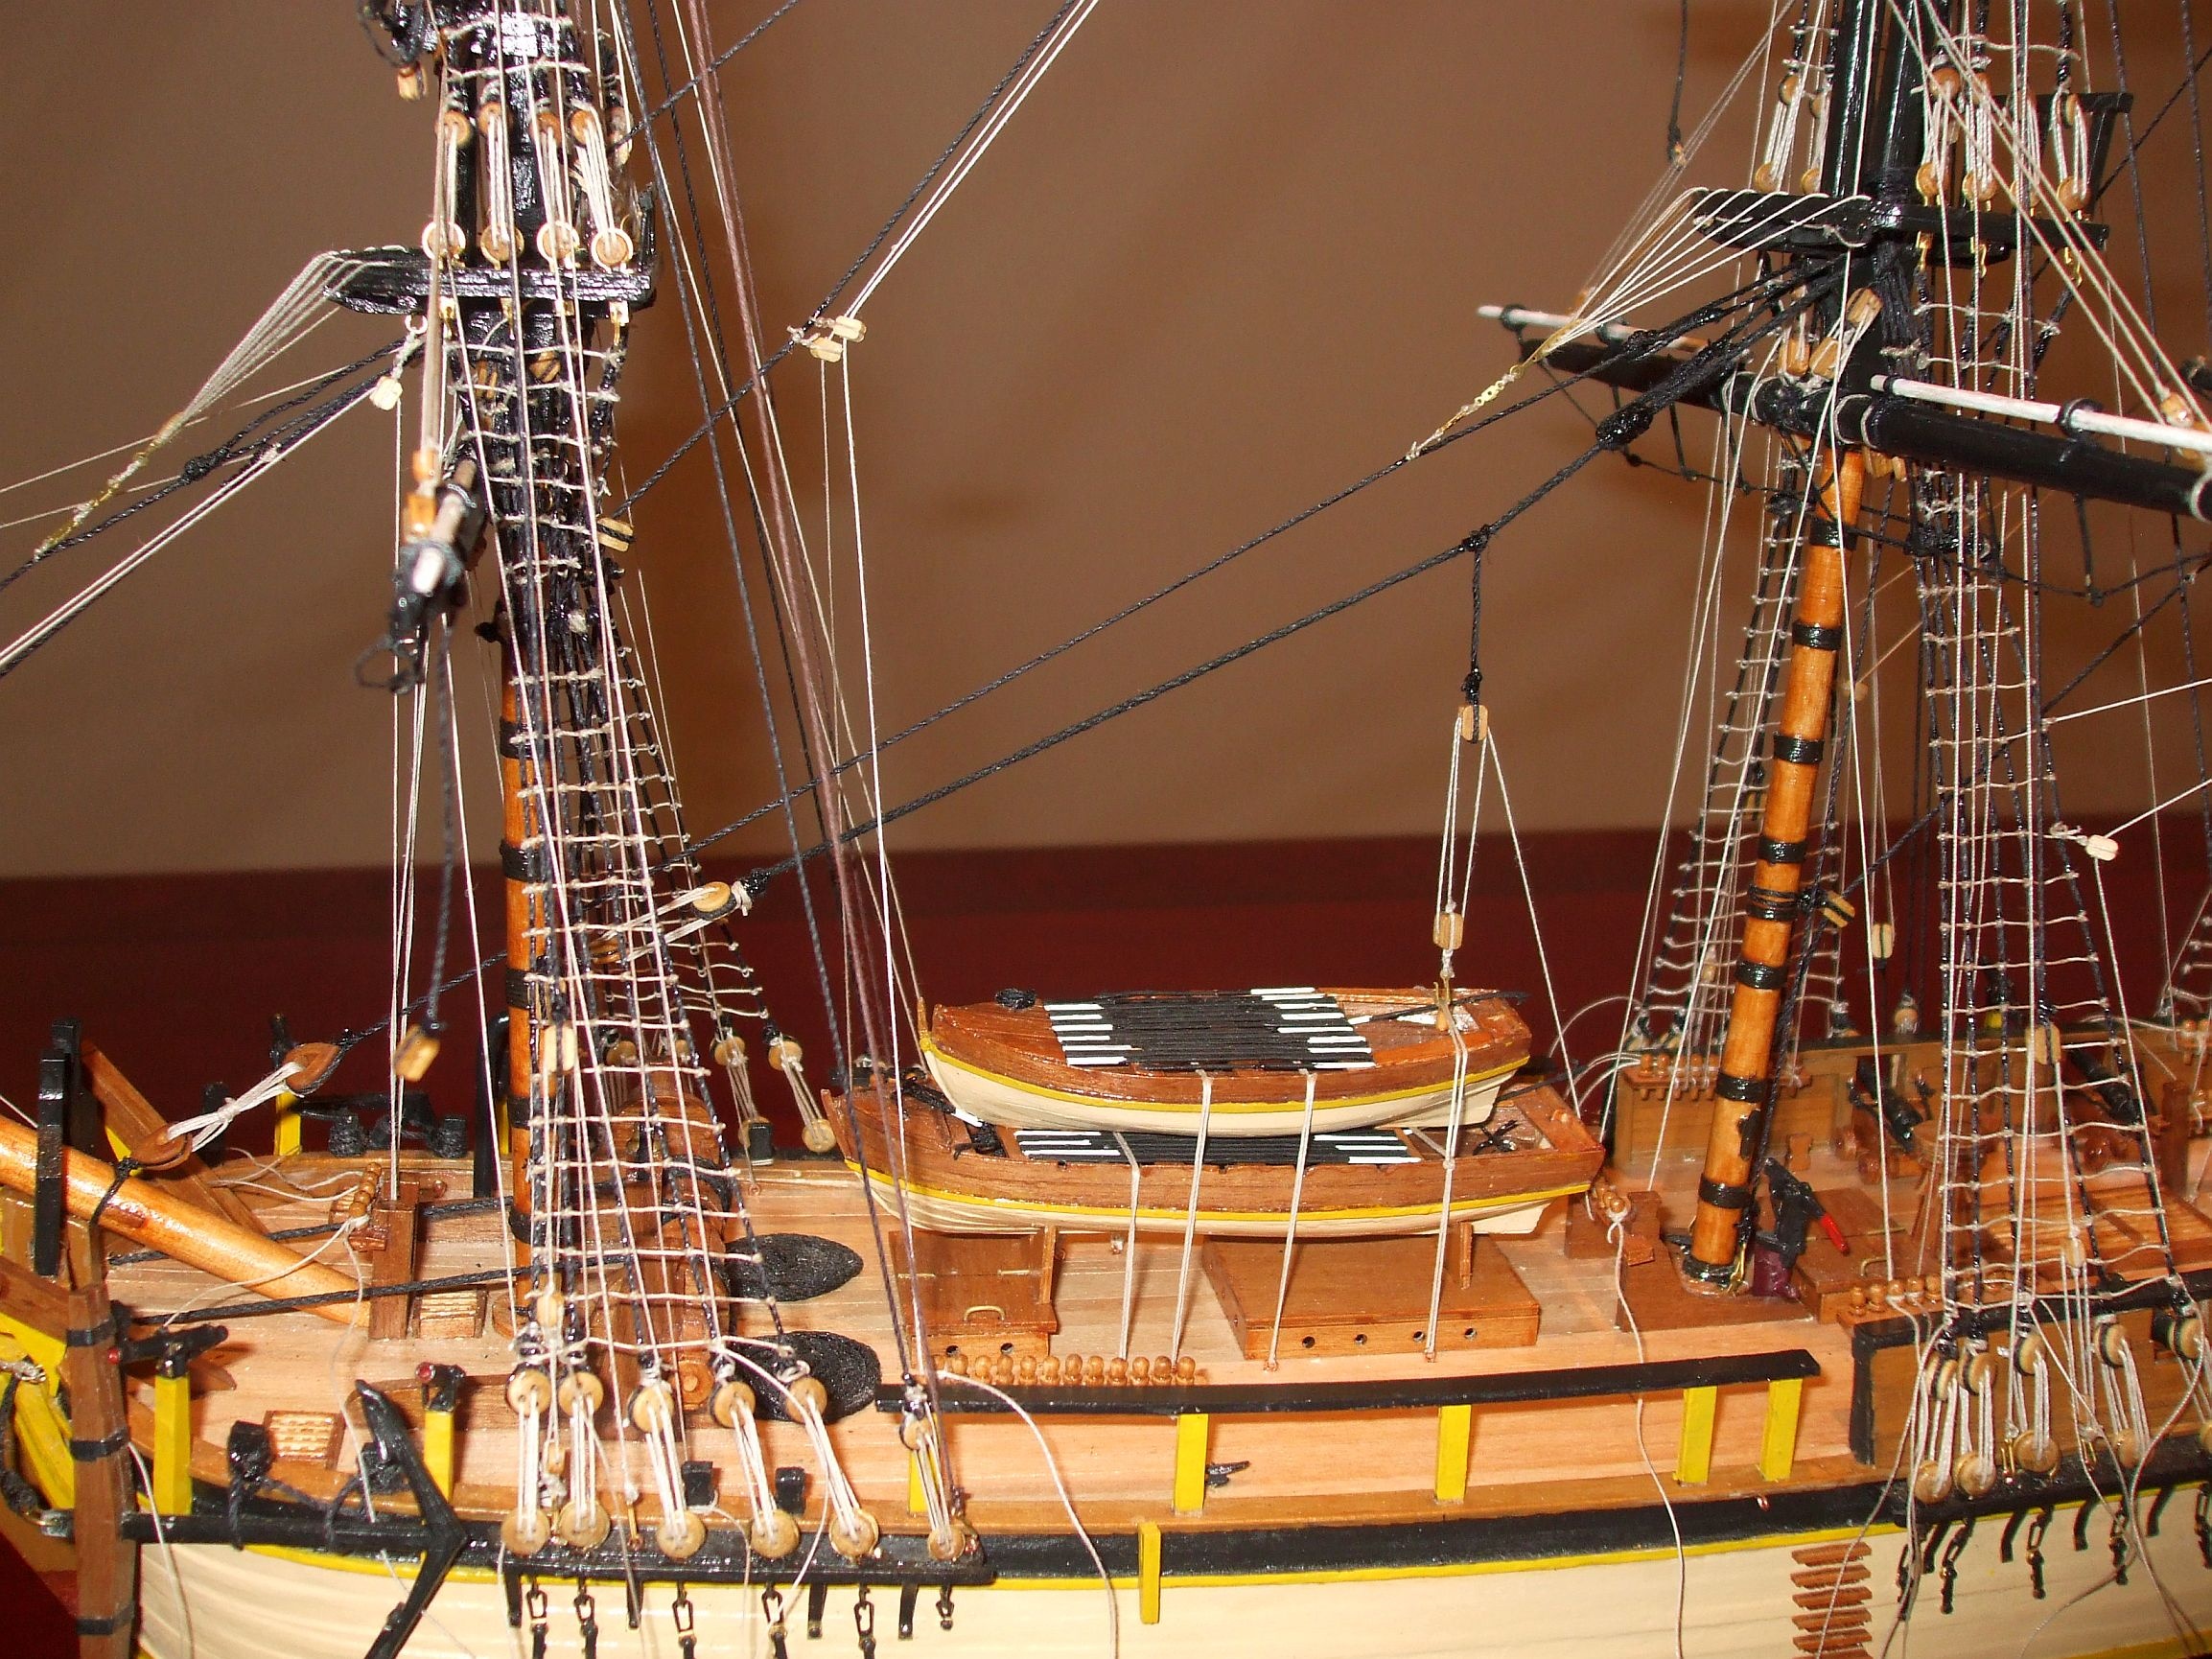
A visual of the deck fittings, most of the major items have been installed but the cannons and bulwark mounted guns will be next. Some observers may be surprised at the colour scheme which varies considerably from my original 1:48 model built in 2005. The colours follow broadly the Caldercraft instructions and is probably more attractive to the collector for display. However, the 1:48 model from Artesania Latina is likely to be more authentic.

The stern view showing the rather gaudy gilding and paintwork prescribed. It all adds to the glamour of model making!! However, for the ageing eyes it becomes somewhat of a strain !
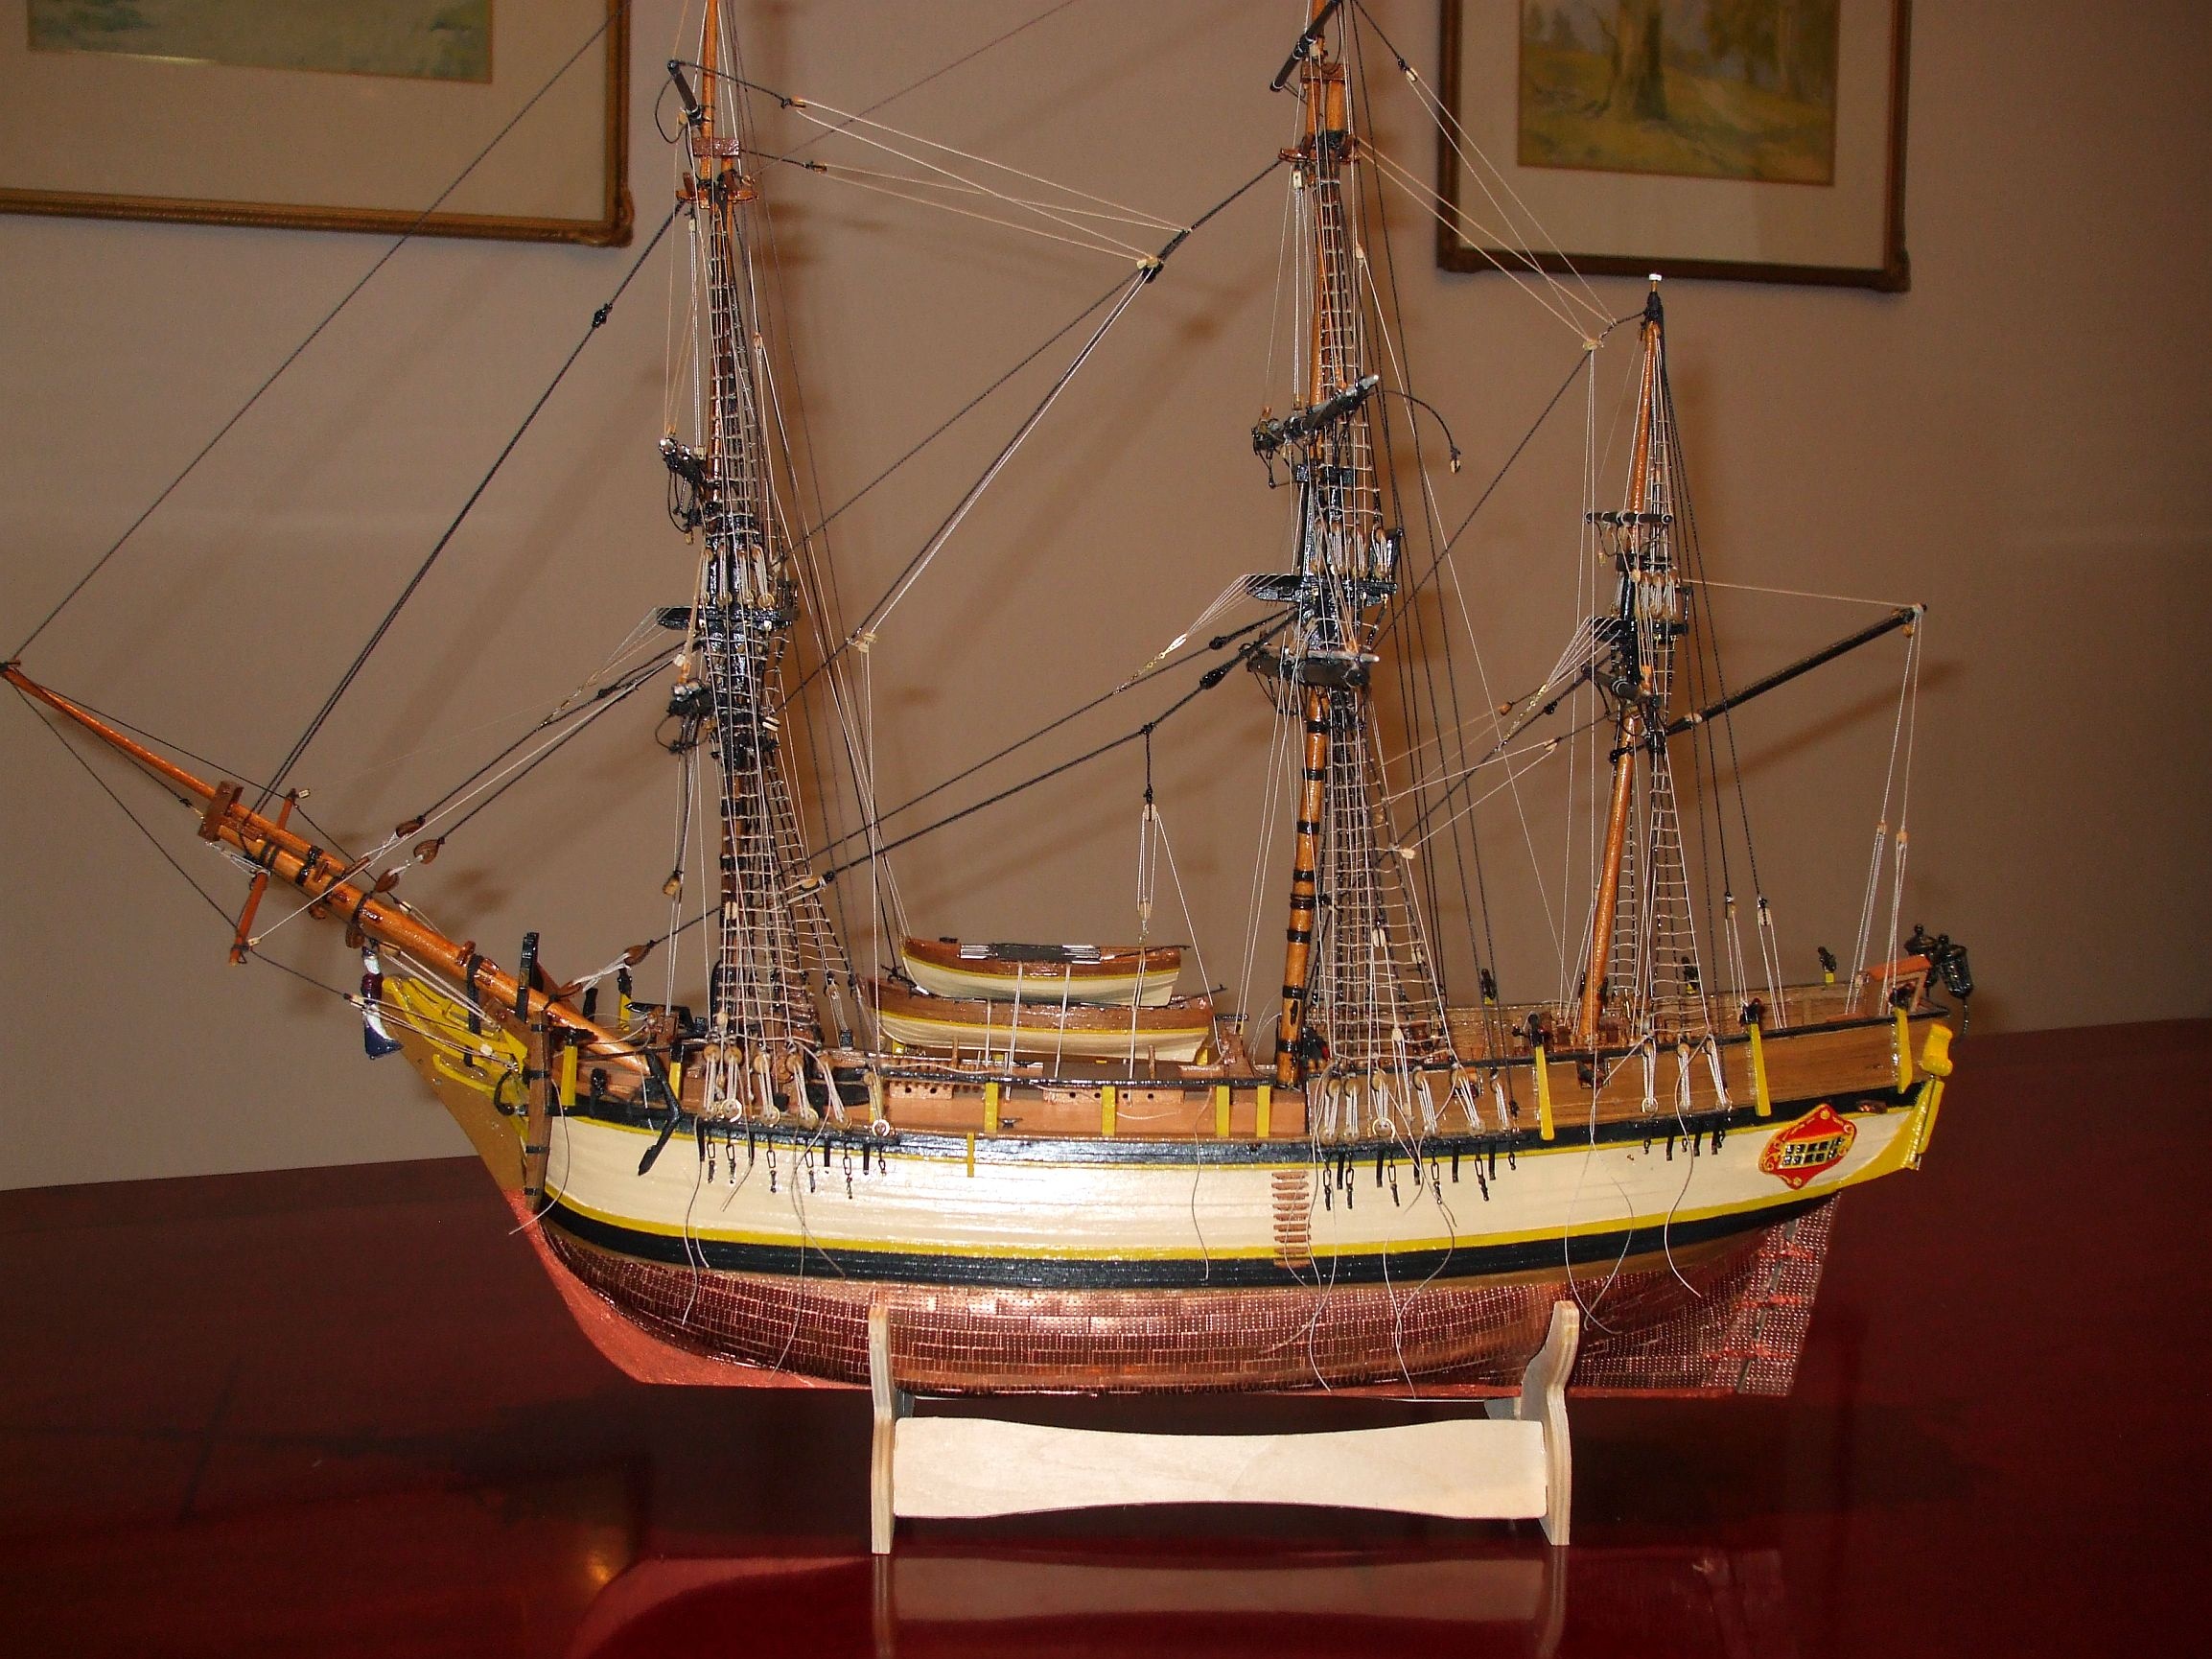
3 May 2015 At long last I am in a position to display the Bounty in her advanced state. Since my last update, I have been unable to devote much time to the model due to so many other commitments. However, although spending a mere half hour here and there, as time permitted, The completion time is drawing nigh. The latter stages of the rigging are progressing and the following photos will show you progress to date.
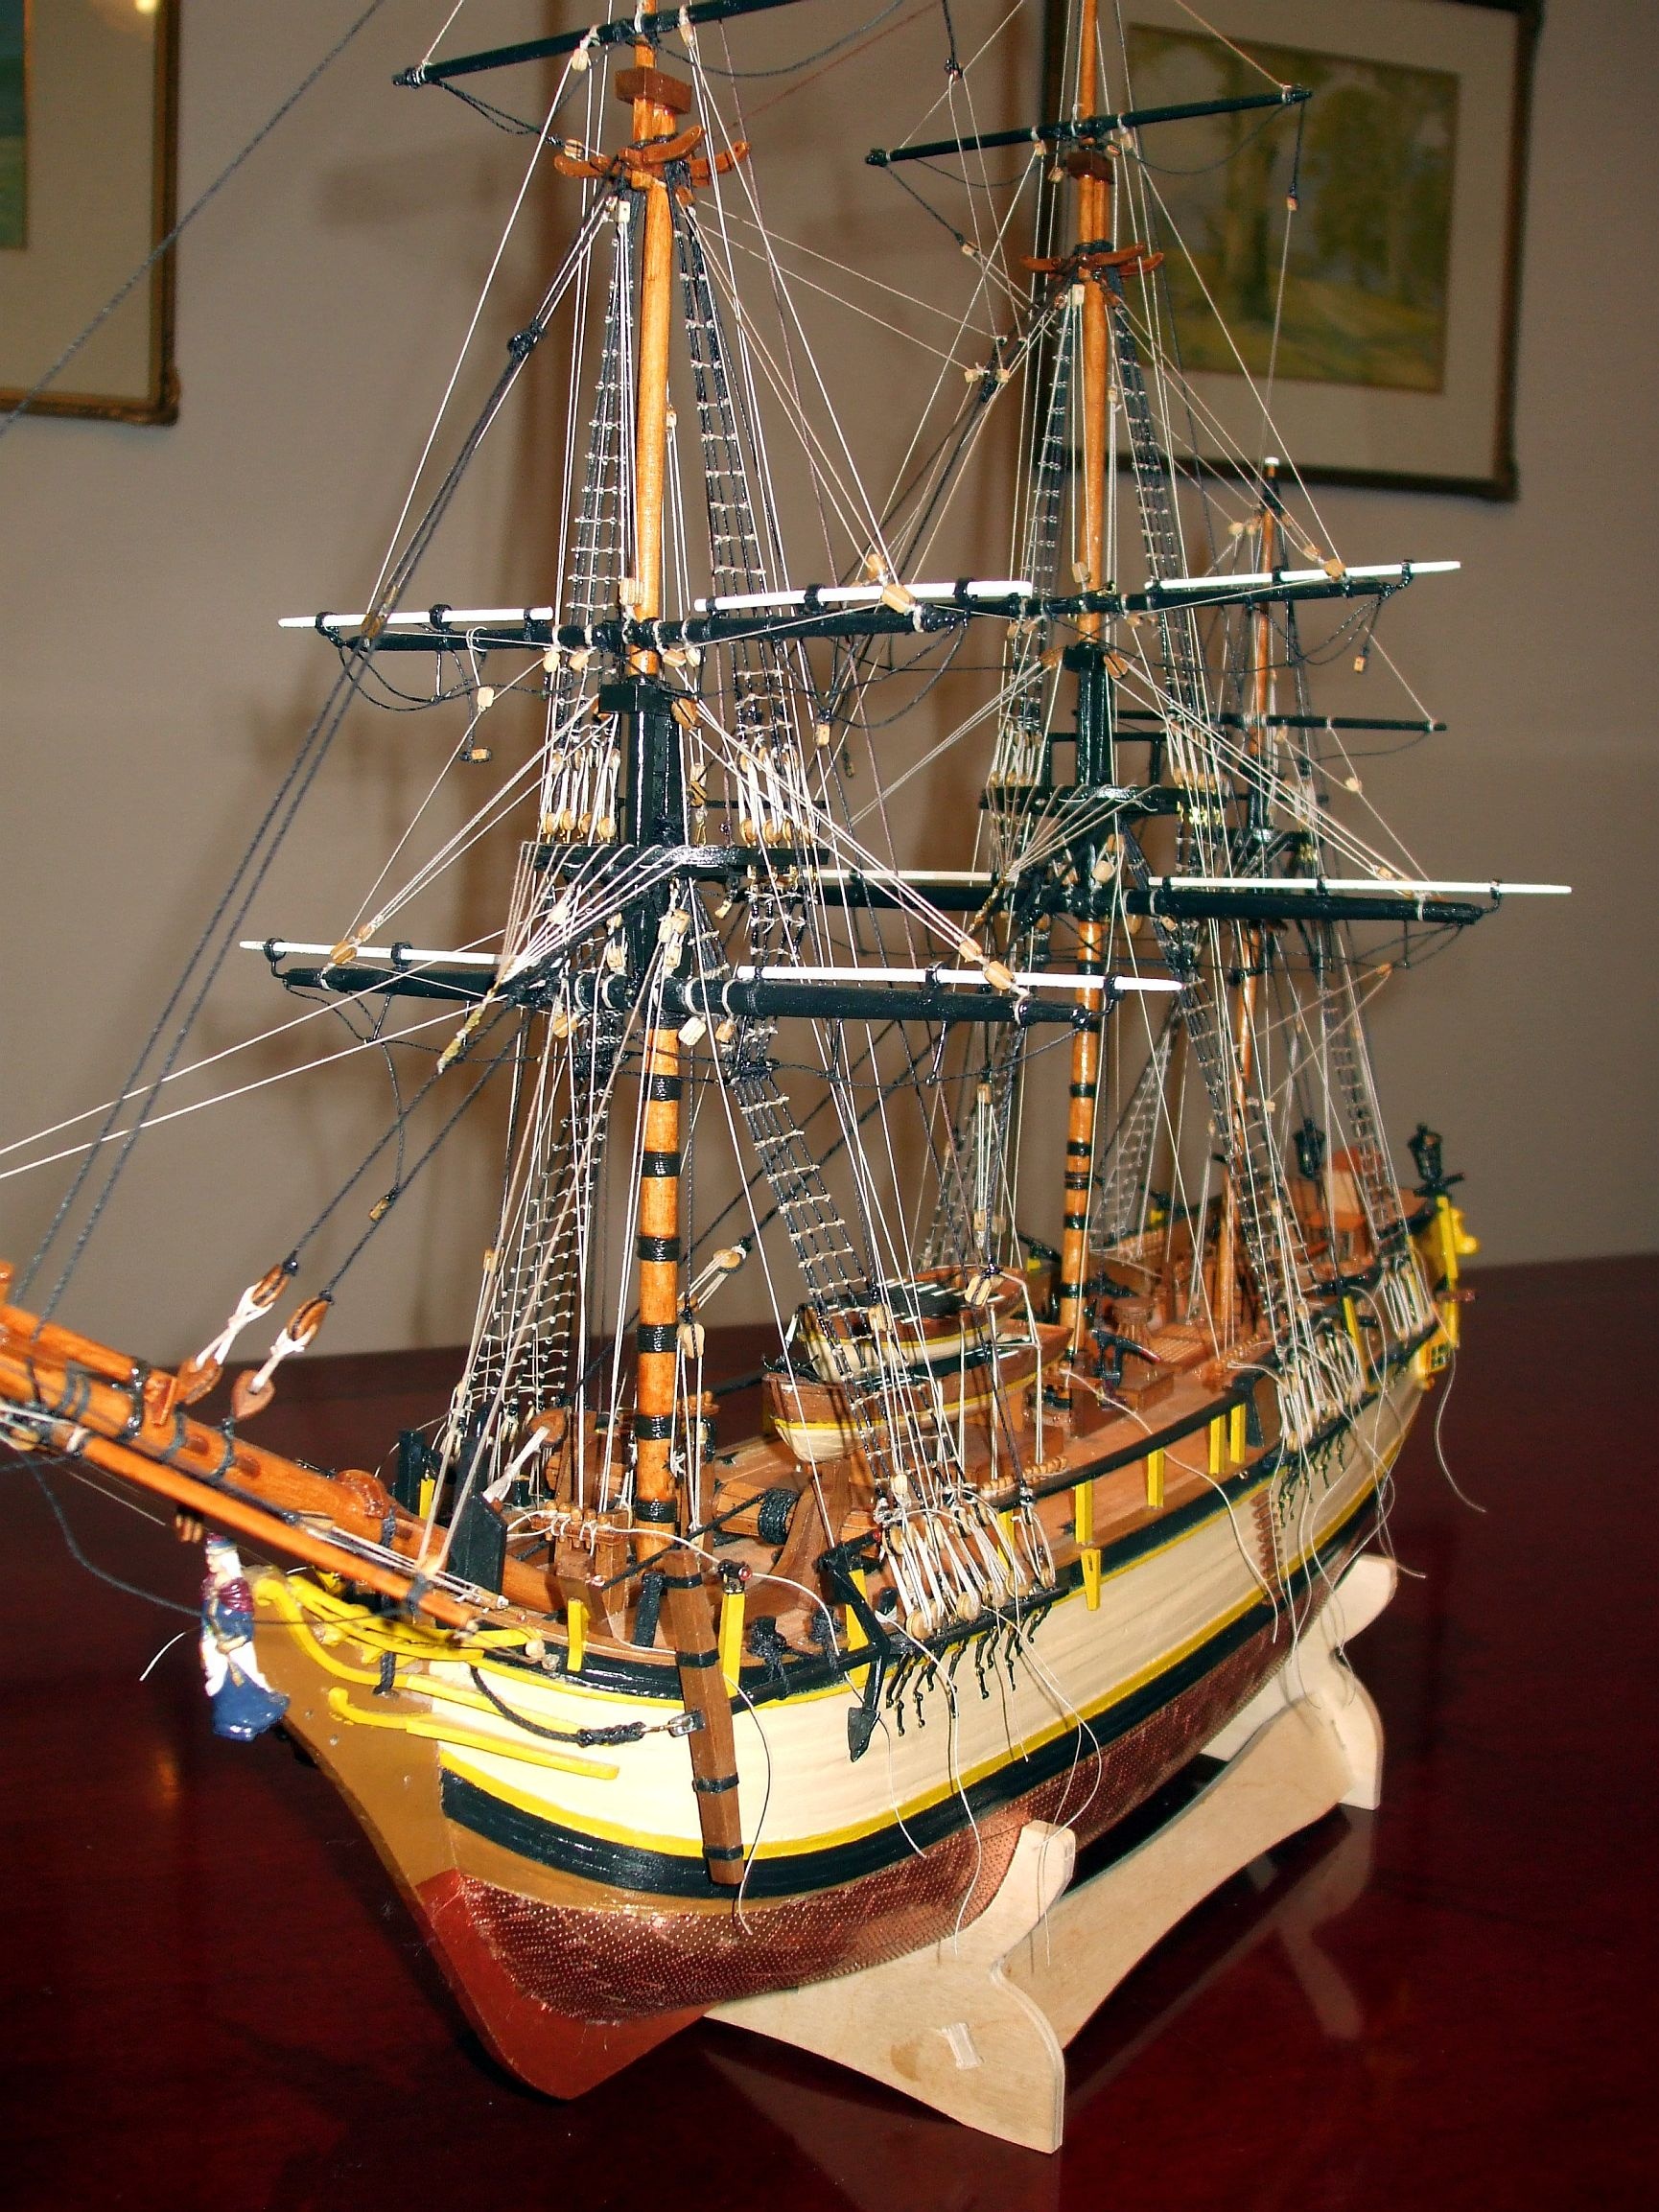
Having completed the shrouds earlier in the year - I embarked on the fairly laborious task with the ratlines, as is always the case in the smaller models, where tying each individual one with clove hitches using 0.10 and 0.25 thread tests ones patience! Due to the strain the old eyes and the stiffening of shoulder and neck muscles, I had to limit the time spans to half hour maximums! I then resorted to my stamp collection where it was needing lengthy attention. Over 2,000 stamps had to be catalogued - an untouched task for the past 40 years!
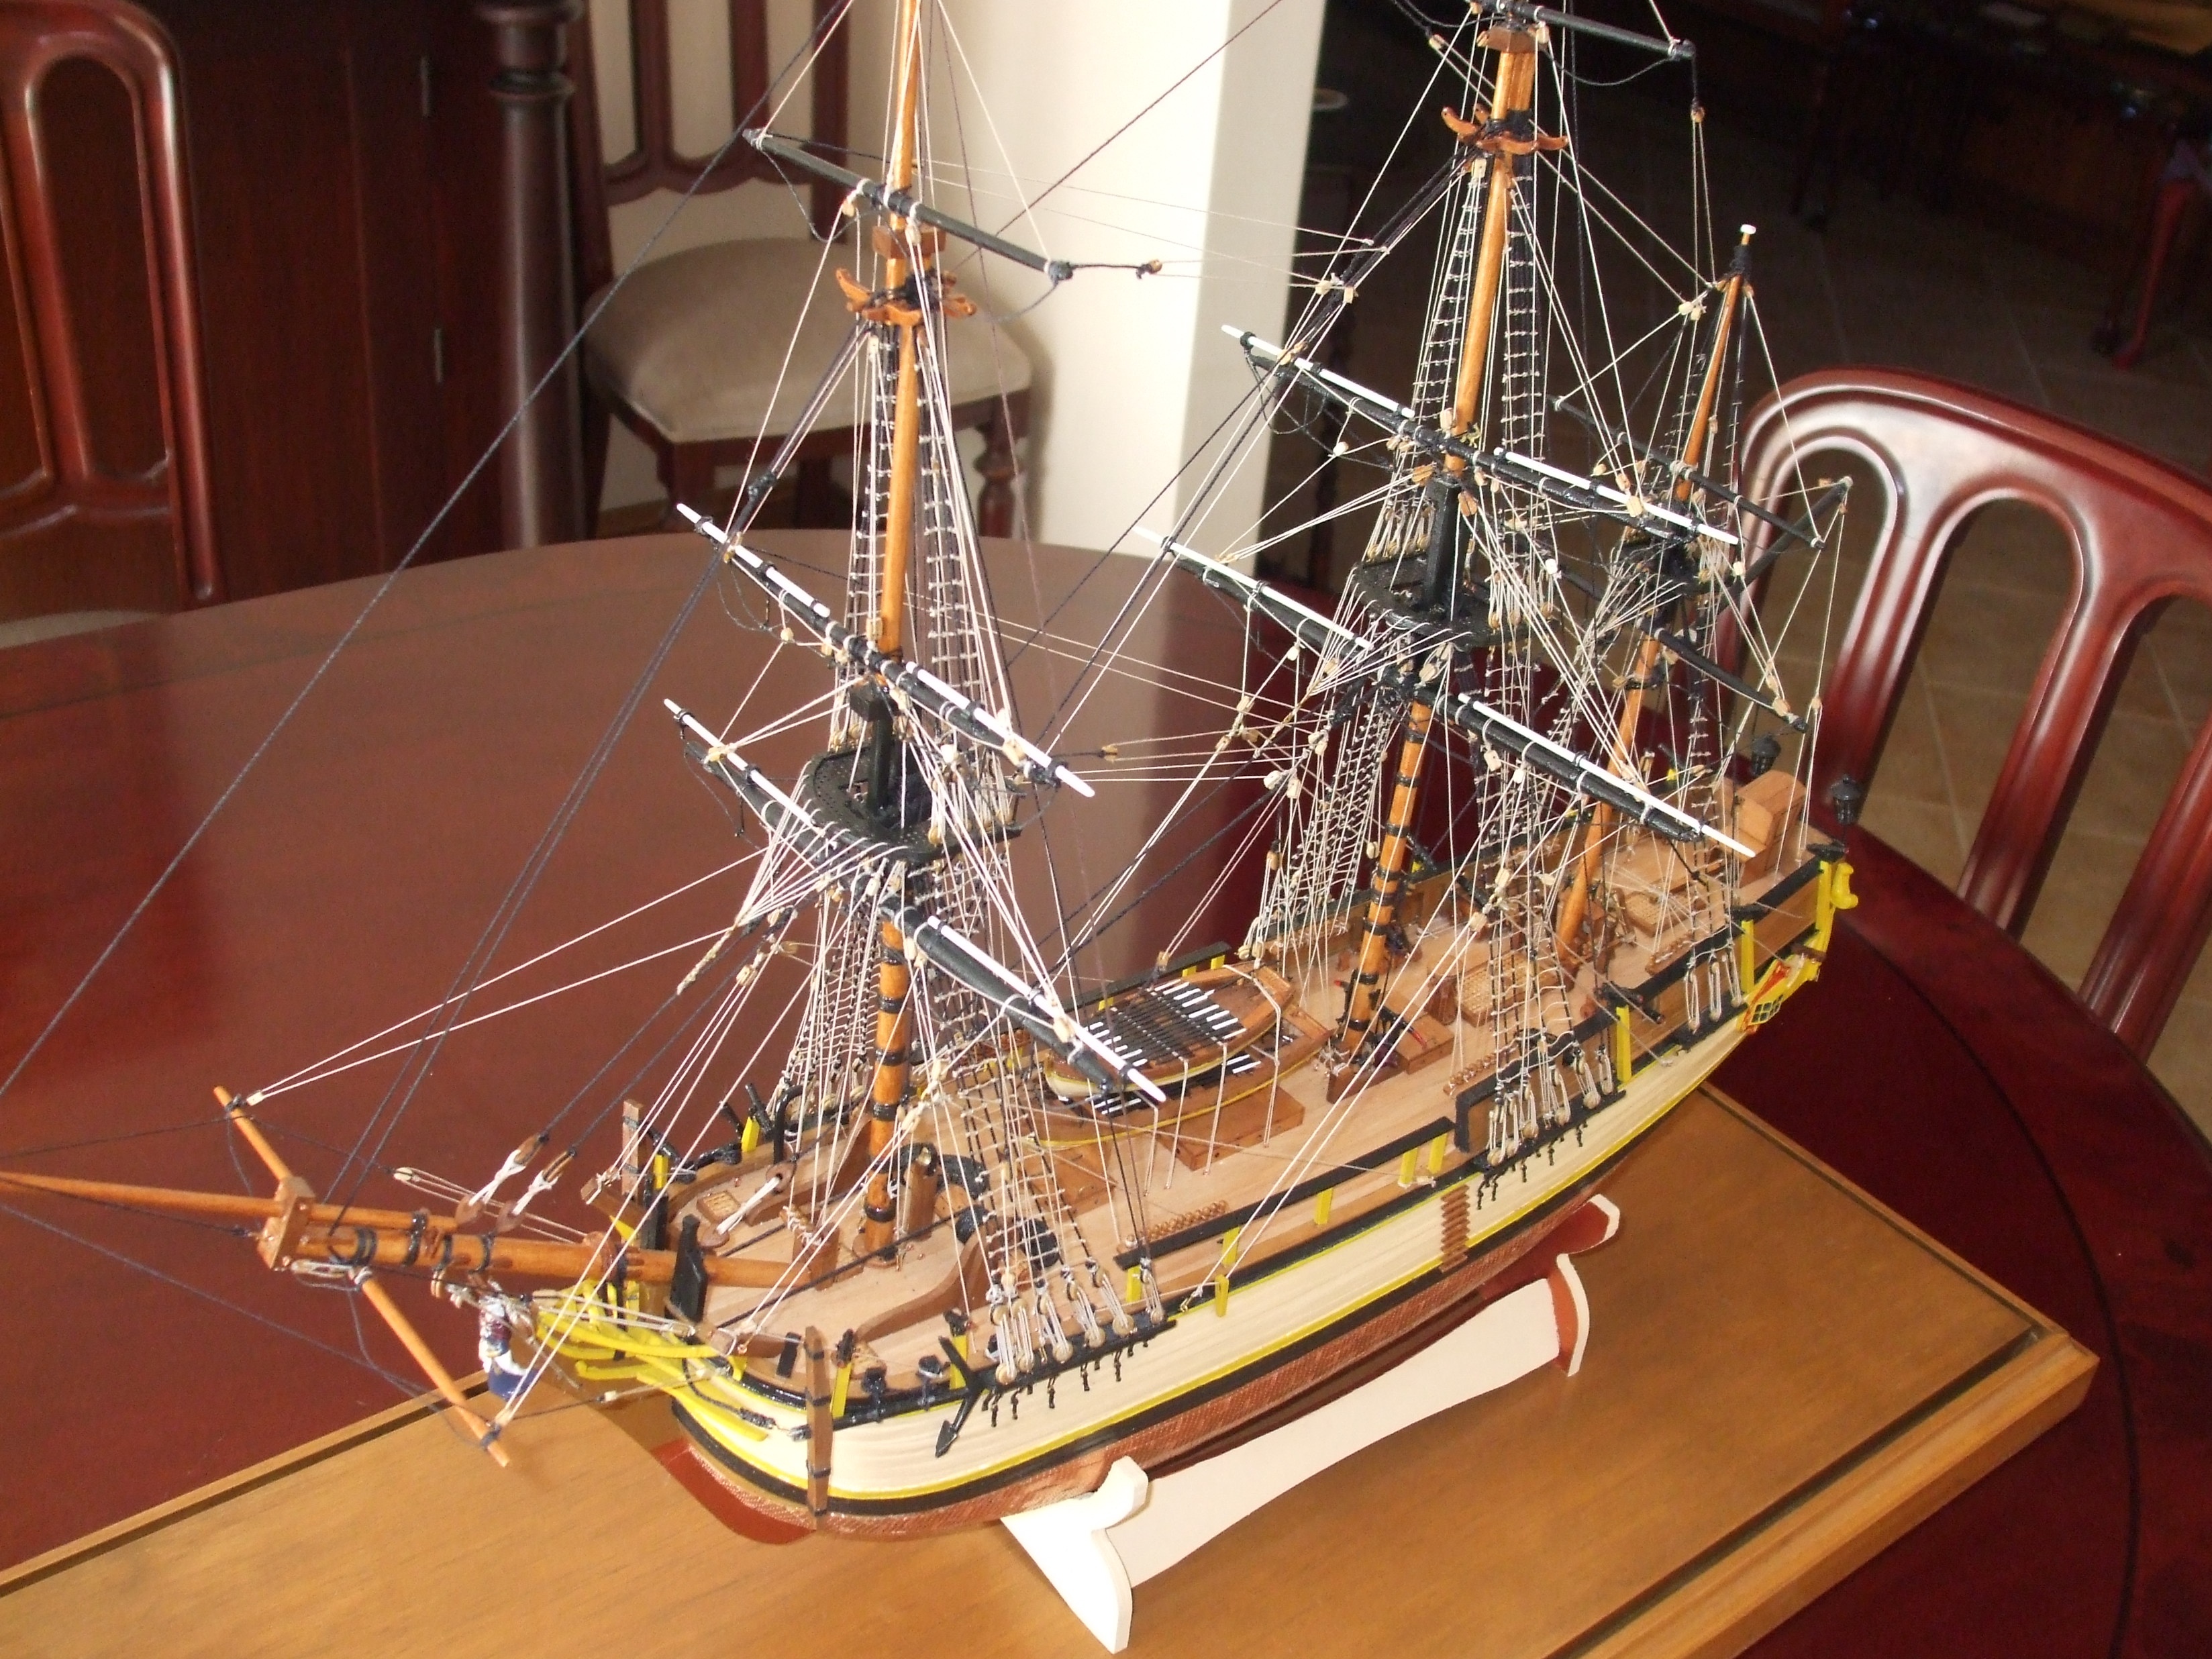
As can be seen in this and the other photos 1,2 and 4, the upper yards have their sheets and tacks and main braces in place with the lower yards still awaiting completion. It wil also be seen that the 'tails' of these riggings remain uncoiled - thus allowing for any adjustments to be made when all are completed.
A closer look at the lower fore and main yards with their associated rigging to date. When finished it will be a greater 'maze'. There is no intention to fit sails as, in keeping with my earlier observations in the introductory texts, I prefer to see the complexity of the rigging without the intrusion of sails which, after all, are only raised if the vessel is at sea! The next update should be in a couple of months when hopefully "Bounty 2' will be on display in an encased condition! When the rigging is complete and the decks cleared of residue, the tails coiled and housed, then the last job will be to freshen up the hull with paint touch-ups where necessary. It's also a good idea to lightly check all fastenings and tensions etc as they do become dislodged or strained during the process later work. I am also considering making the hull painting above the waterline a little darker to make it more like the replica which now resides in Sydney Harbour.
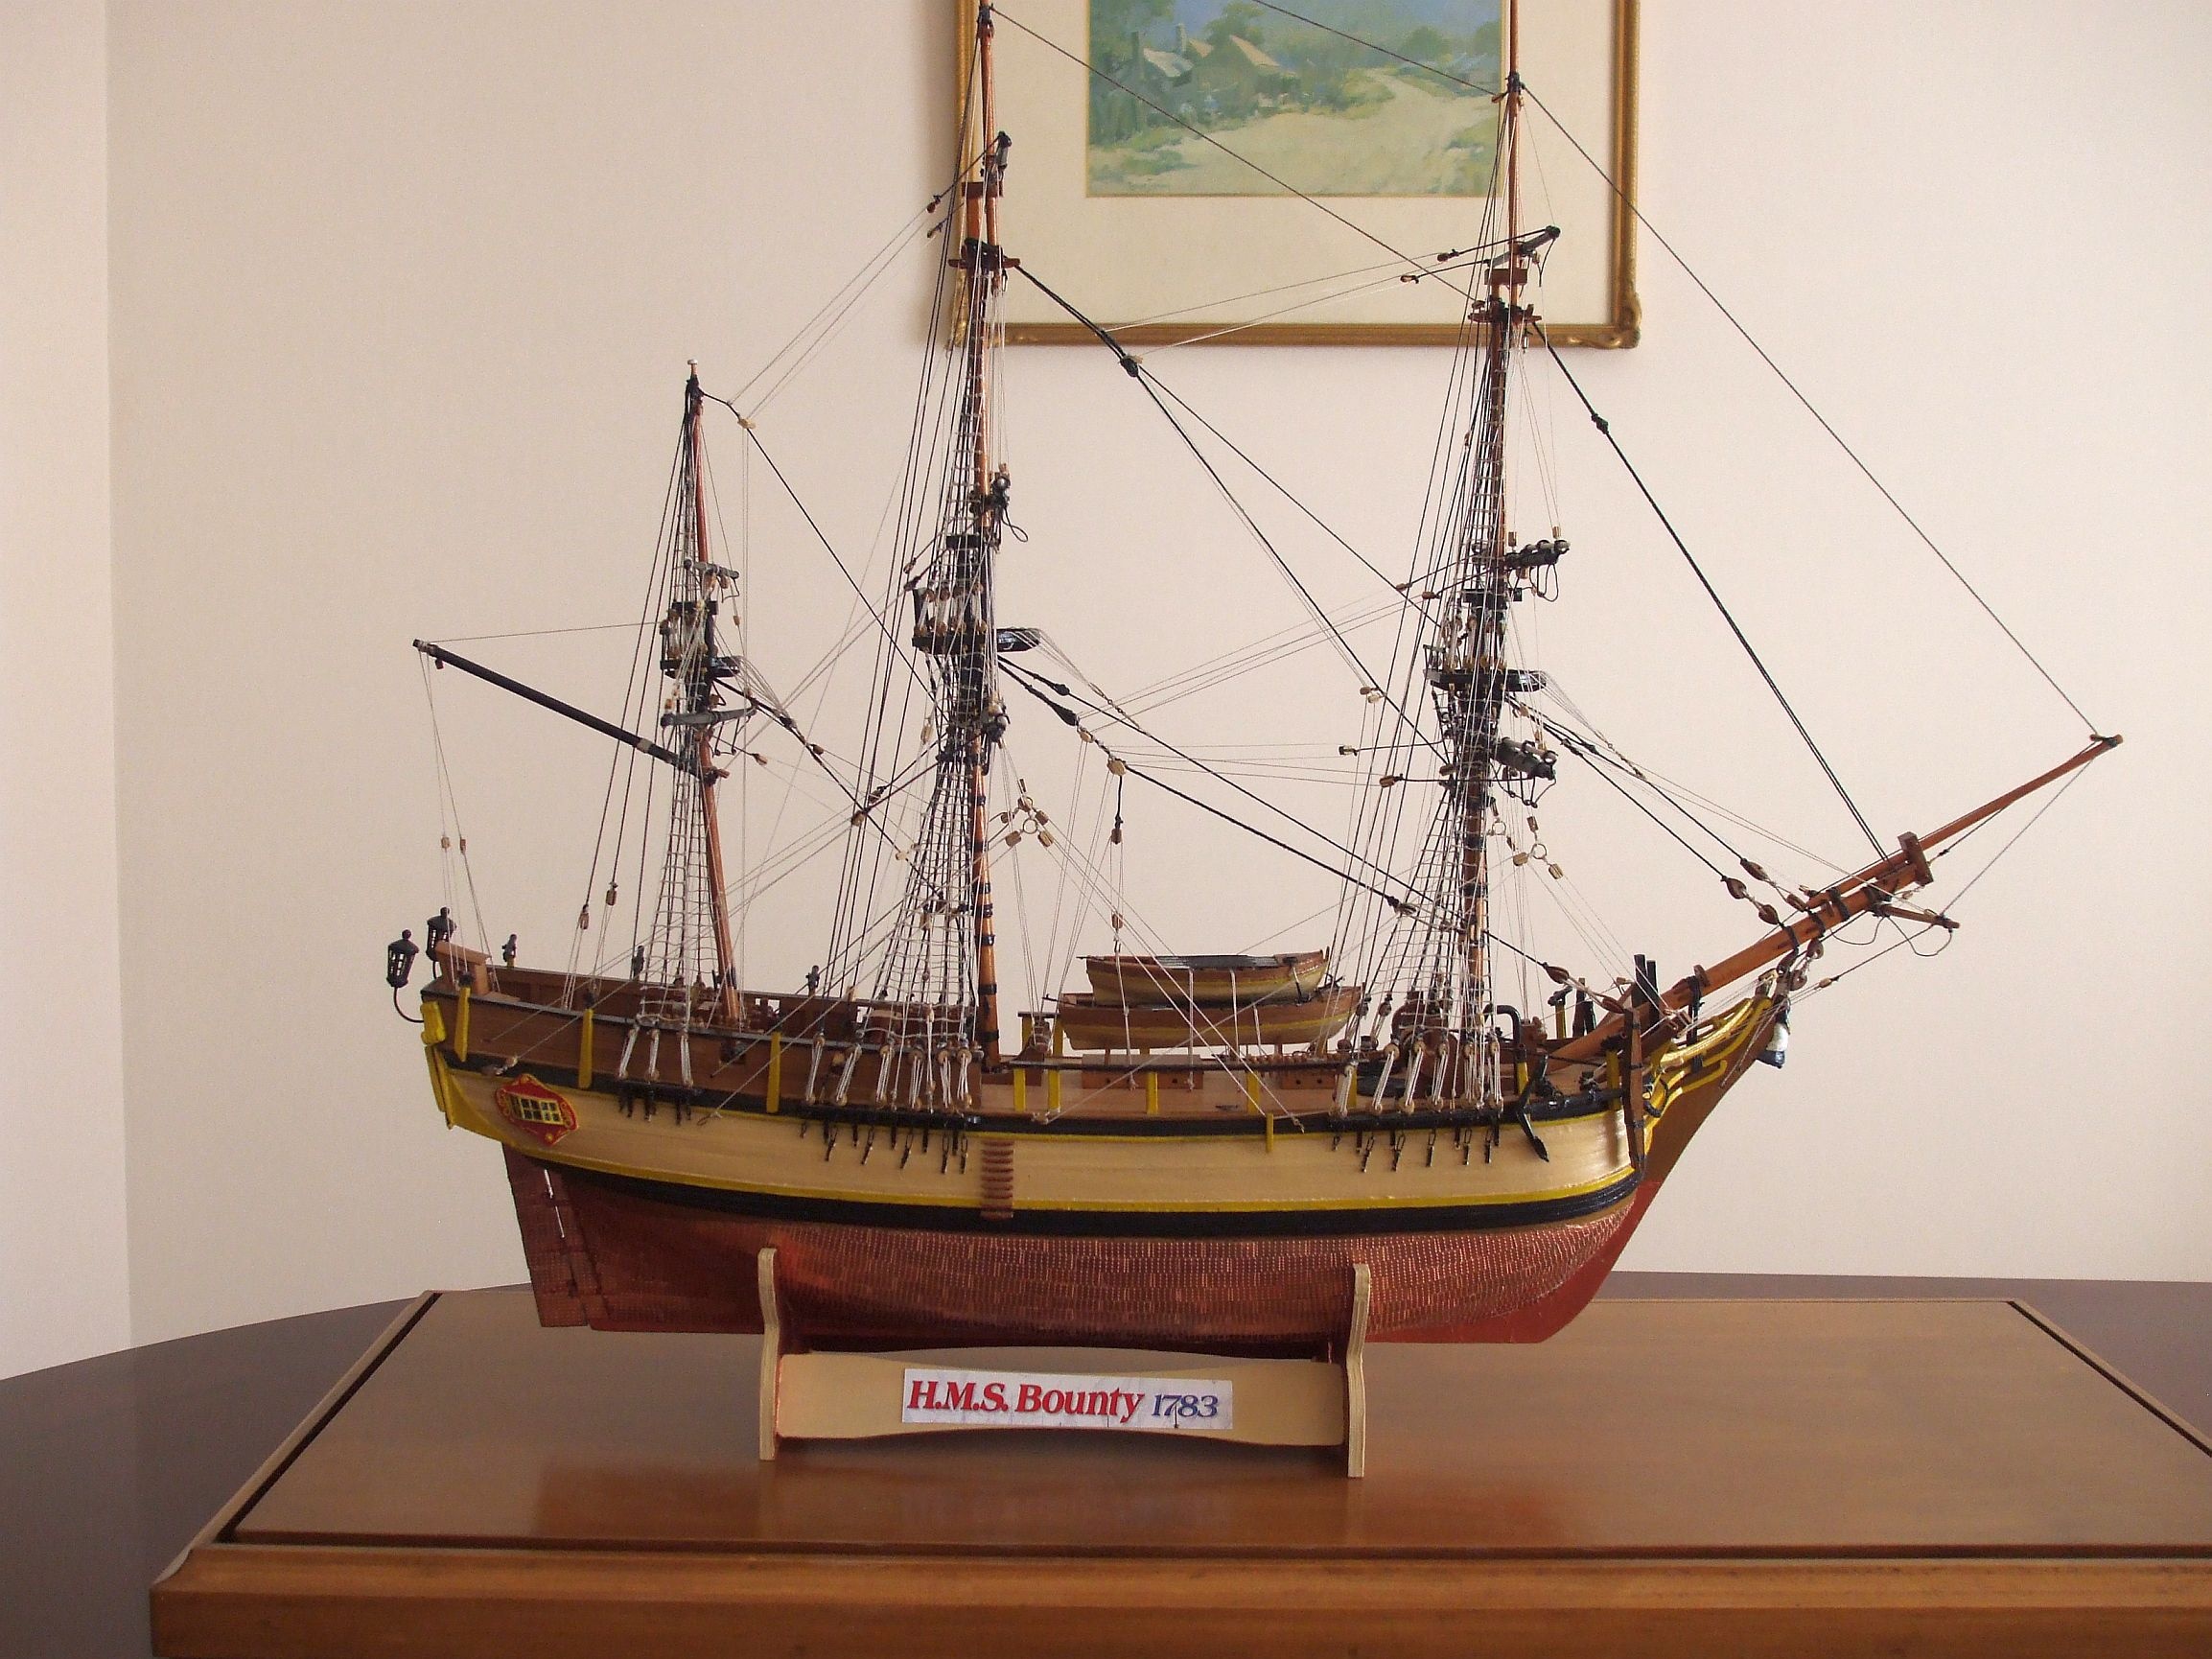
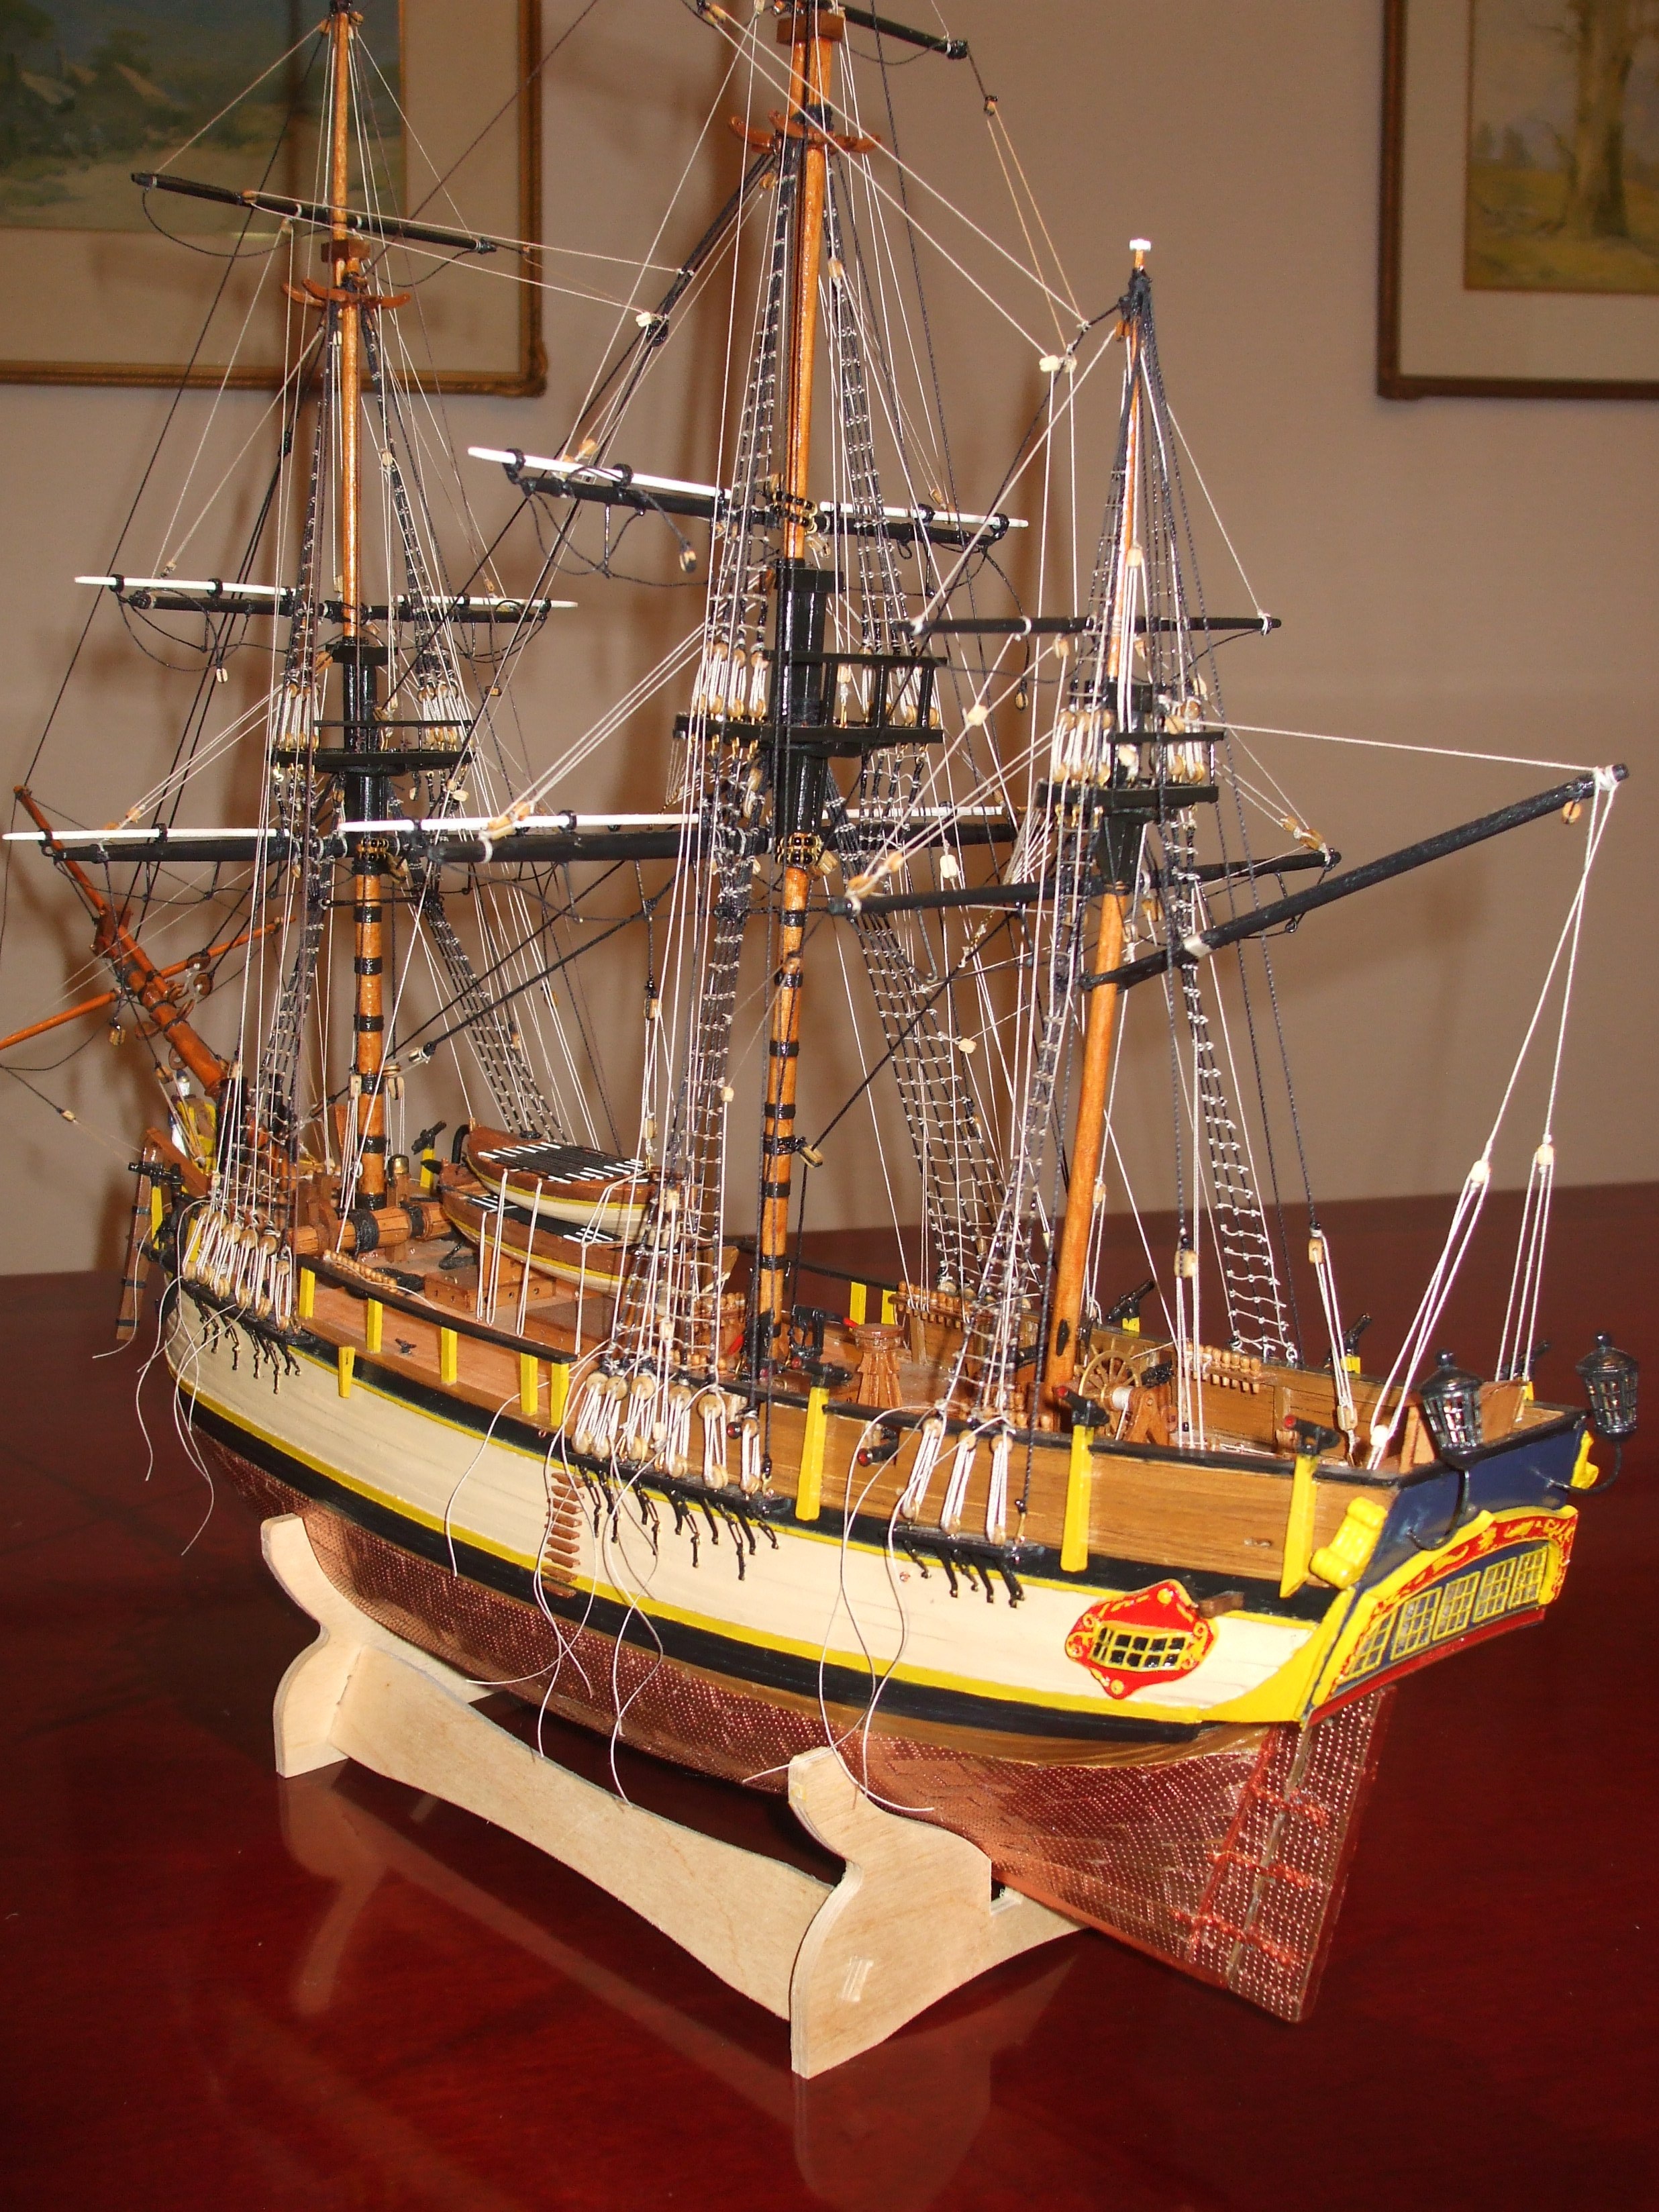
Bounty completed at last. Final rigging took longer than expected. The suggested 'top to lower' system was beneficial but the more rigging completed, the harder it gets. I have tried forrard to aft or vice versa in previous models but would suggest the upper to lower procedure is probably the 'cleanest'.

Bounty from above. Having considered making the cream part of the hull somewhat darker, I was persuaded otherwise by the Minister for Home Affairs to leave it as it was. Having examined many other Bounty models on the internet, it would seem there are many variations so mine adds to the list!
The last but not least view of the model. Now it's time to examine the market place of kit suppliers to choose my next challenge. Who knows what it will be !! Now off to celebrate our 59th wedding anniversary with my patient wife. Latest update: My grandson and his wife Rana, who earlier displayed my model of the "Scotland" in their apartment, have now added the "Bounty" to their collection which now abides in their new home, well out of reach of their 1 year old son Hunter.