Classic Ship models 21
Swedish Gunboat 1775 (Cannoniera Svedese - 1775)
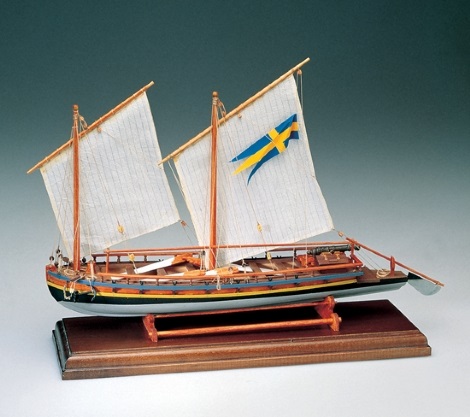
The attached photograph is provided by Armati on the kit box cover, which is acknowledged with thanks, as it does clarify a number of matters described below in the construction information.
The history of this vessel is described on the kit box cover in Italian.
"Progettate da Frederick Henrik Chapman in funzione delle operazioni militari svedesi nell'arcipleago di Finlandia, le cannoniere svedesi particolarmente adatte alla guerra nei fiordi.
Construite nel 1775 piecole e potentemente armate, erano grado di sparare e di sparcare uomini e artiglieira"
This is translated as follows:-
"Designed by Frederick Henrik Chapman in accordance with the Swedish military operations in the archipelago of Finland, the Swedish gunboats particularly suited to war in the fjords. Built in 1775, they were able to shoot and scatter men and artillery."
Updated 1.11.2019
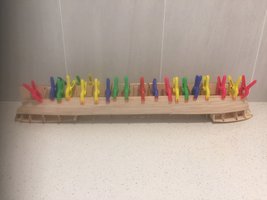
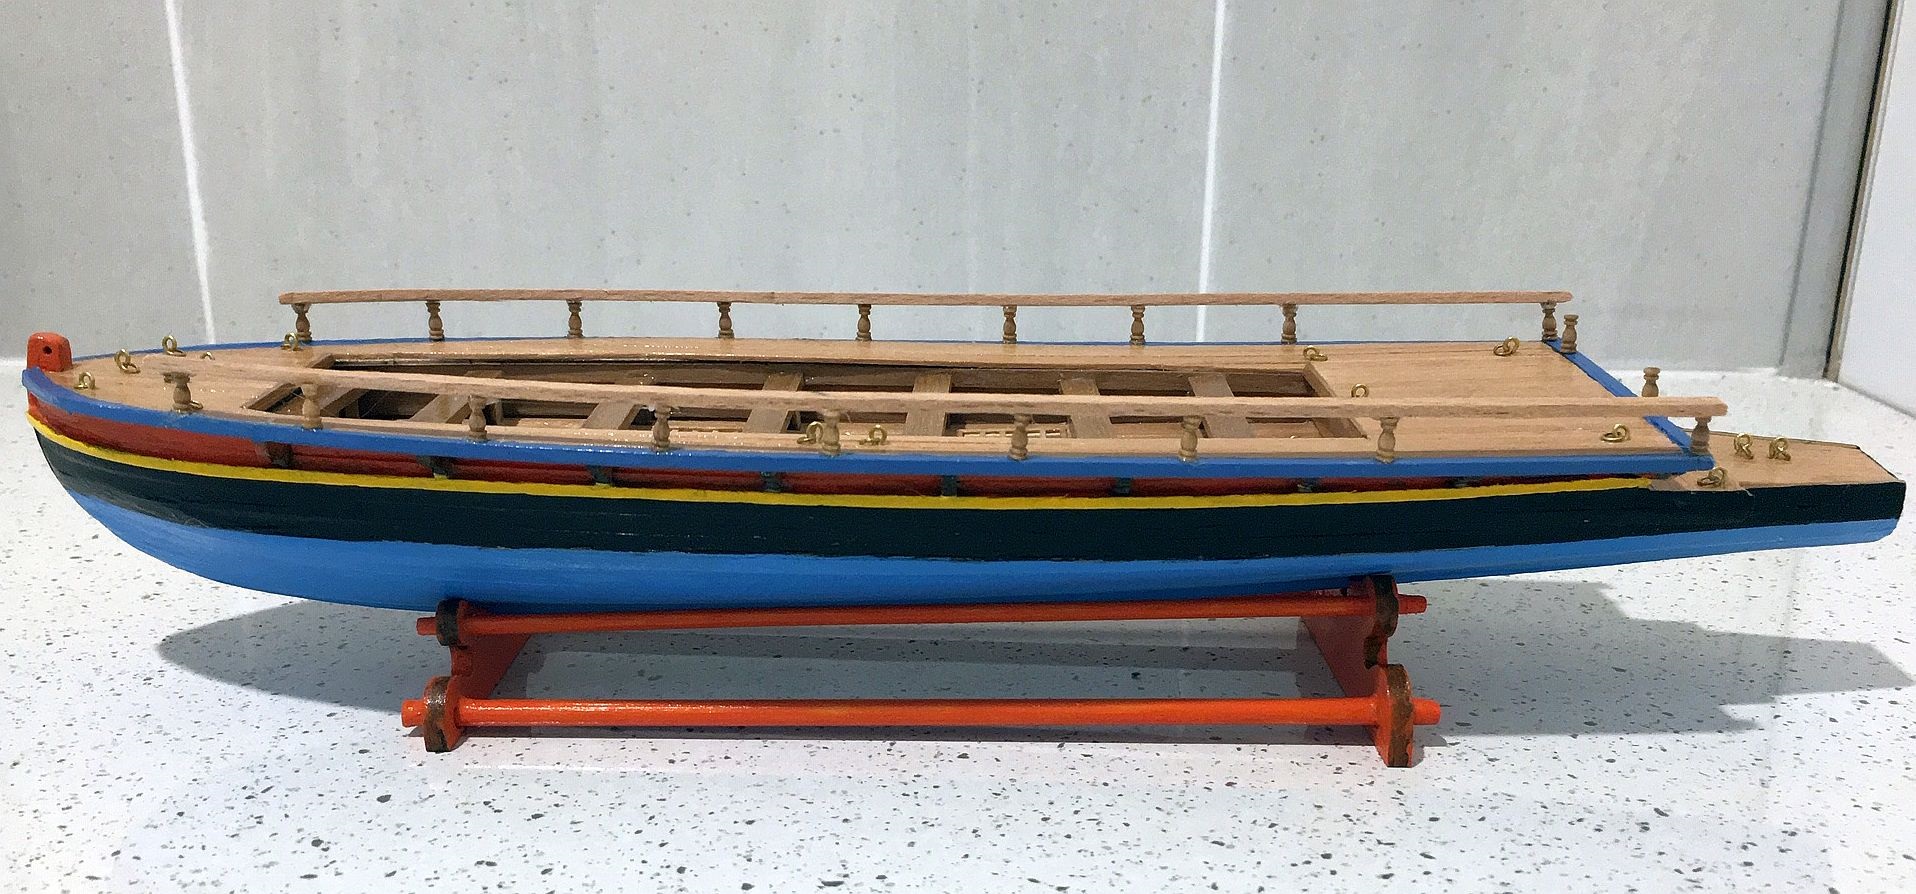
Stage 1 of construction - profile
This Amati kit was purchased from Modellers Central on the spur of a moment when it was seen in their newsletter. It looked to be quite unique with a certain amount of challenge but also containing very little rigging. Although it is suggested to be a suitable model for beginners, the kit does not contain written instructions and therefore the large plan provided has to be followed with care and precision!
Unfortunately no photographs were taken of the initial stages of construction and the attached shows the profile of the completed stage. A number of comments and observations of the planking and other aspects follow below.
Basically the framing was quite straight forward and the frames had to be shaped as usual to accommodate the planking. However, they did not take account of the need for the shape to dip sharply at the waterline as explained below. Such modifications were made 'on the run '. The decks fitted quite well and the decking itself was no problem.
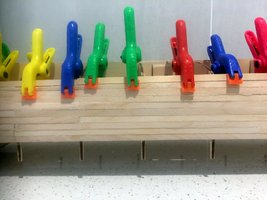
Plan view of profile
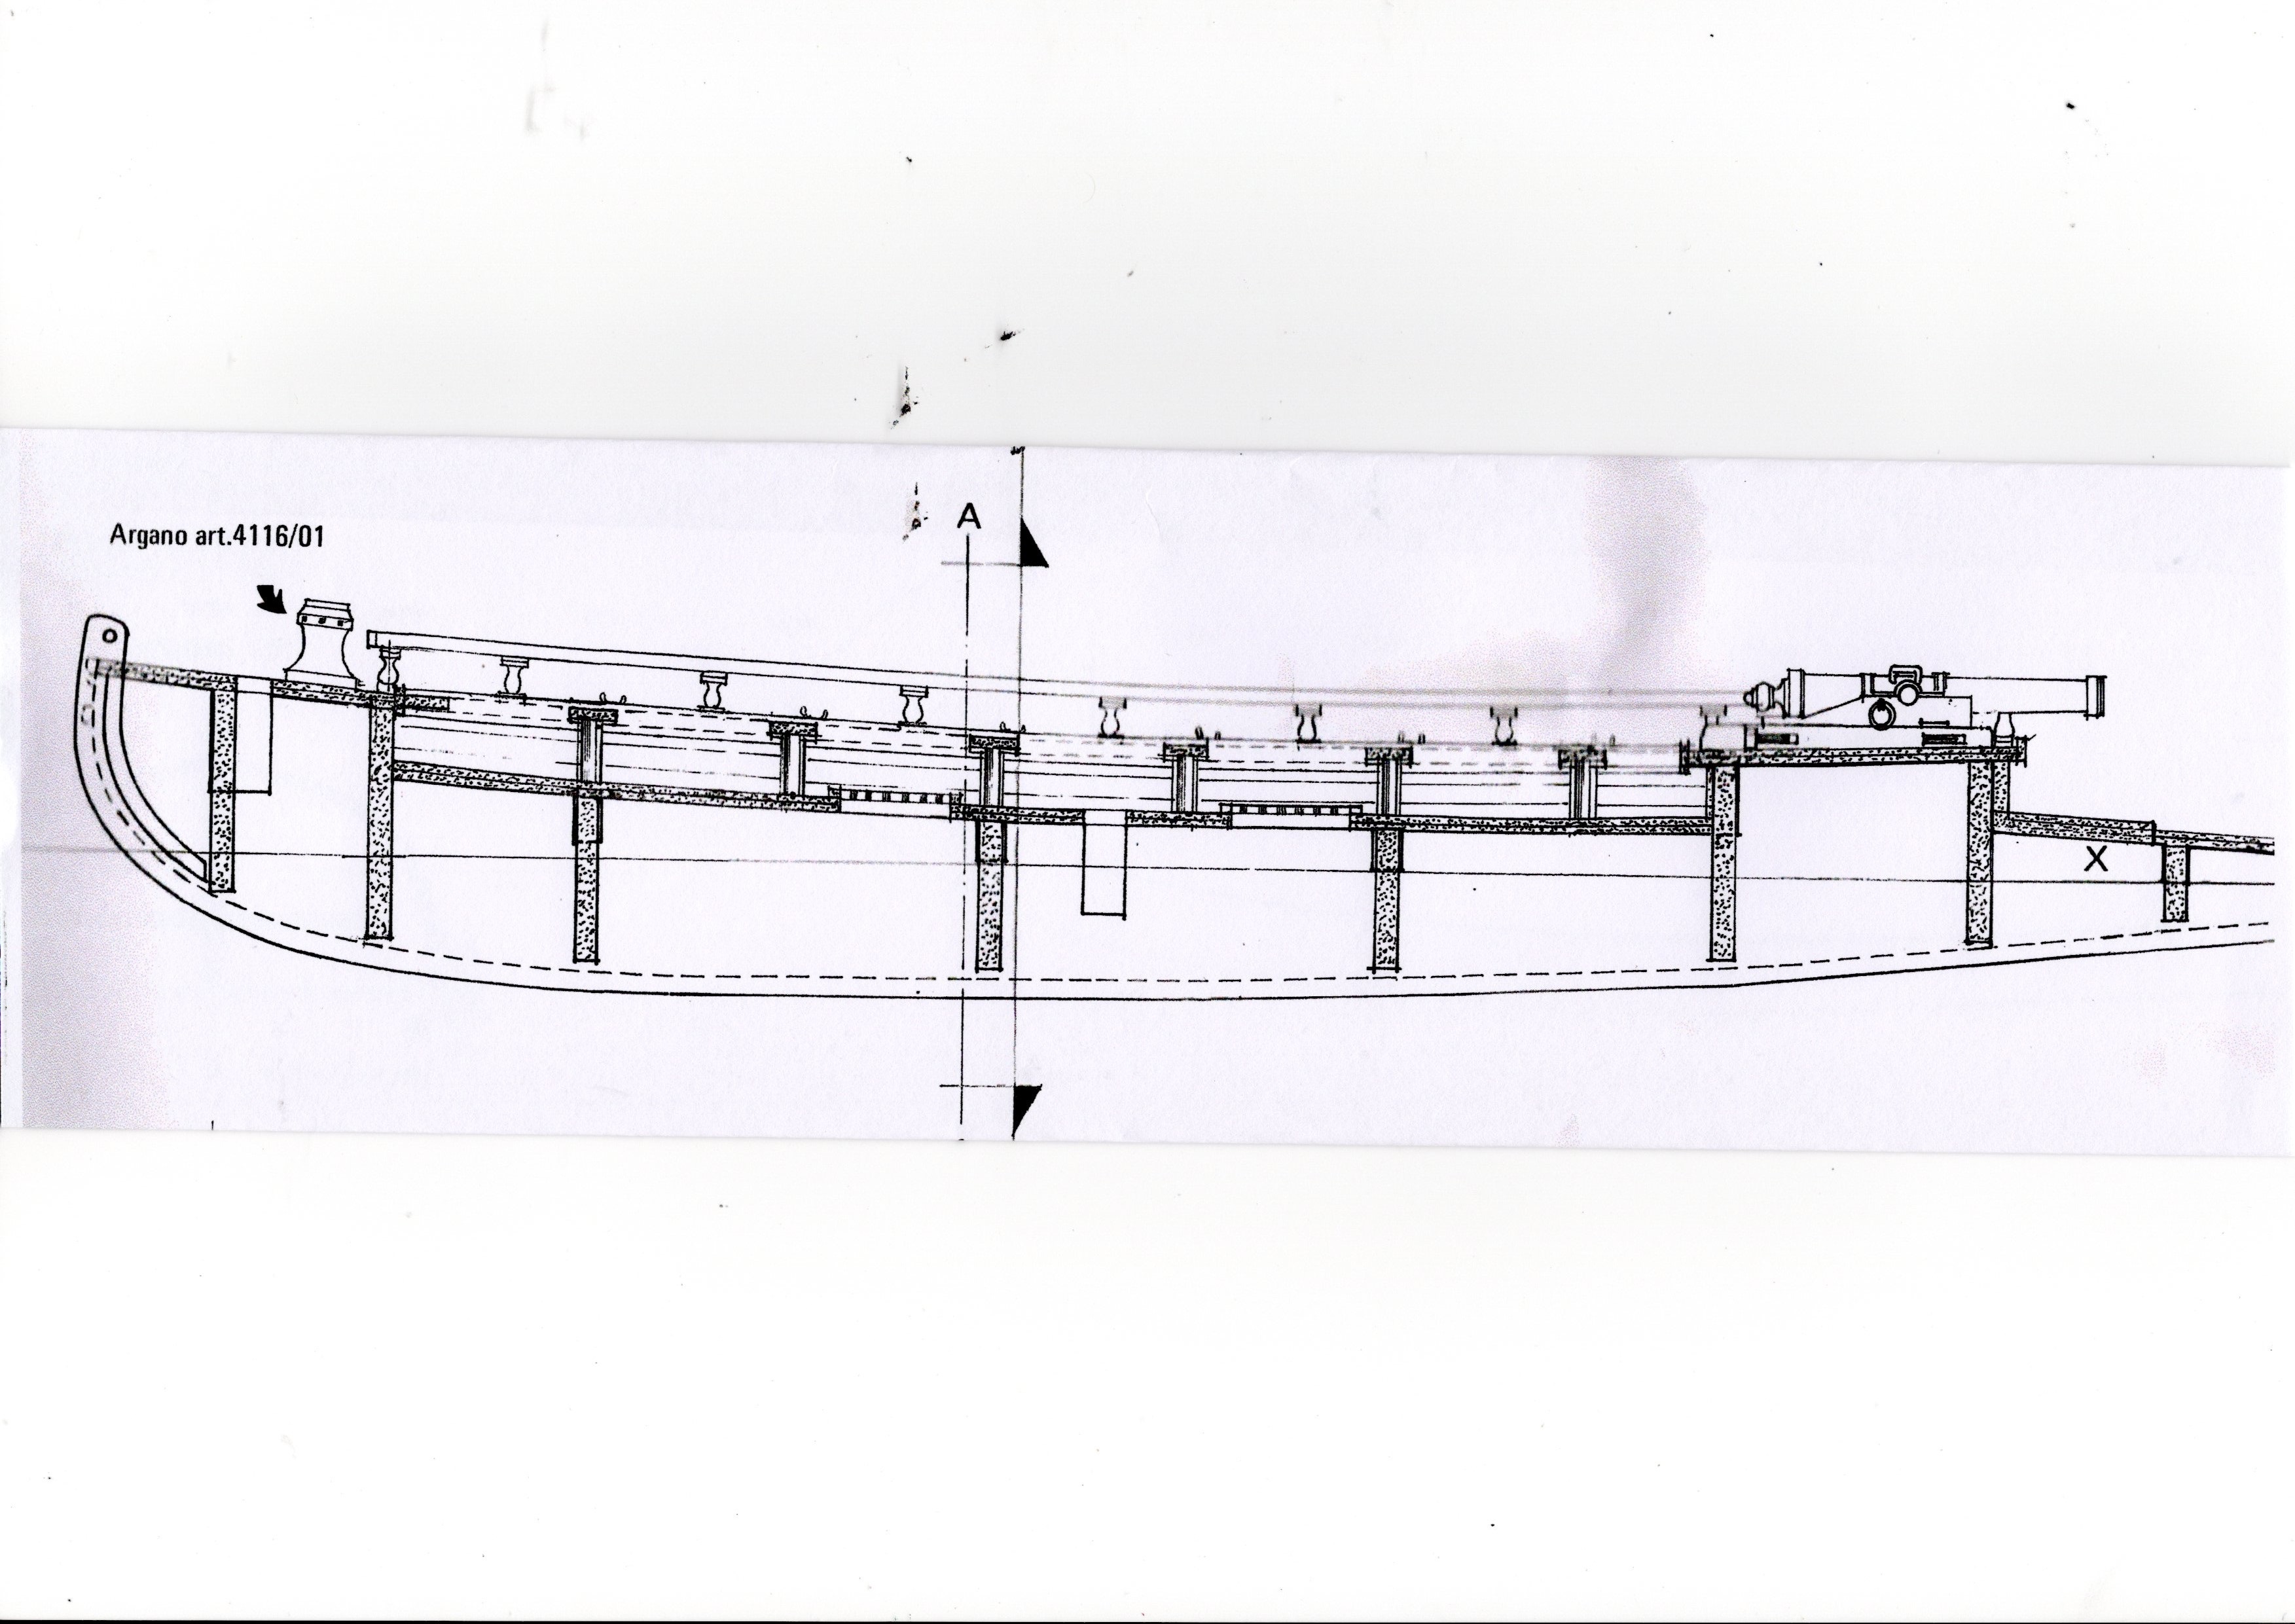
This shows clearly the hull shape and the tapering to the stern as described below.
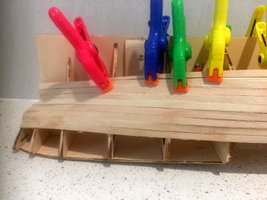
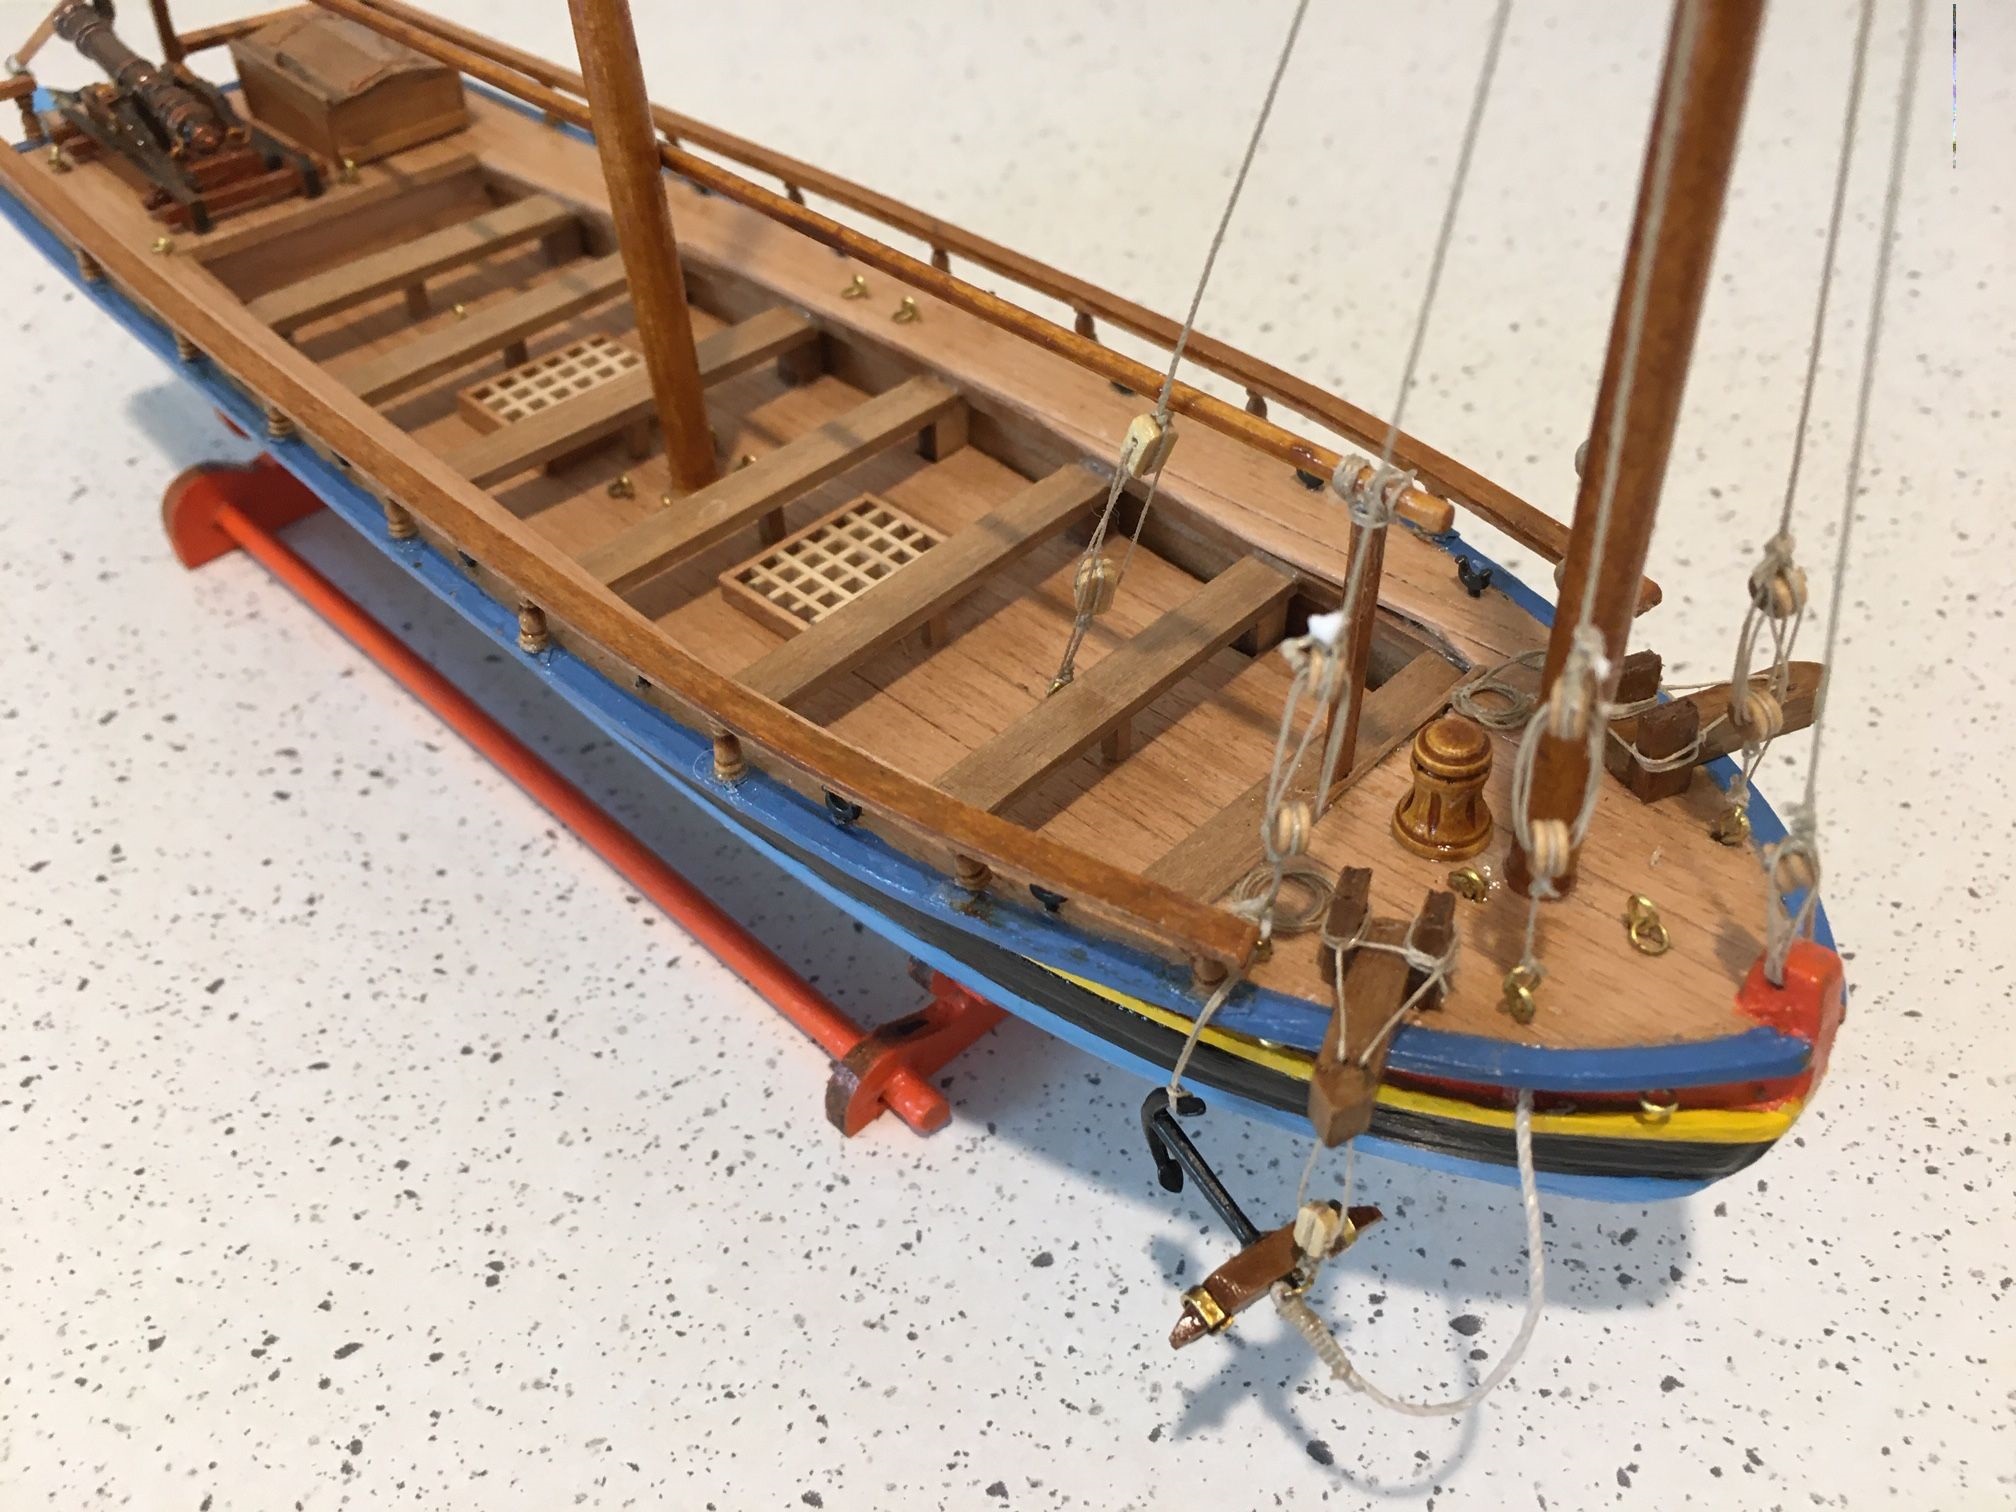
Elevated view looking aft
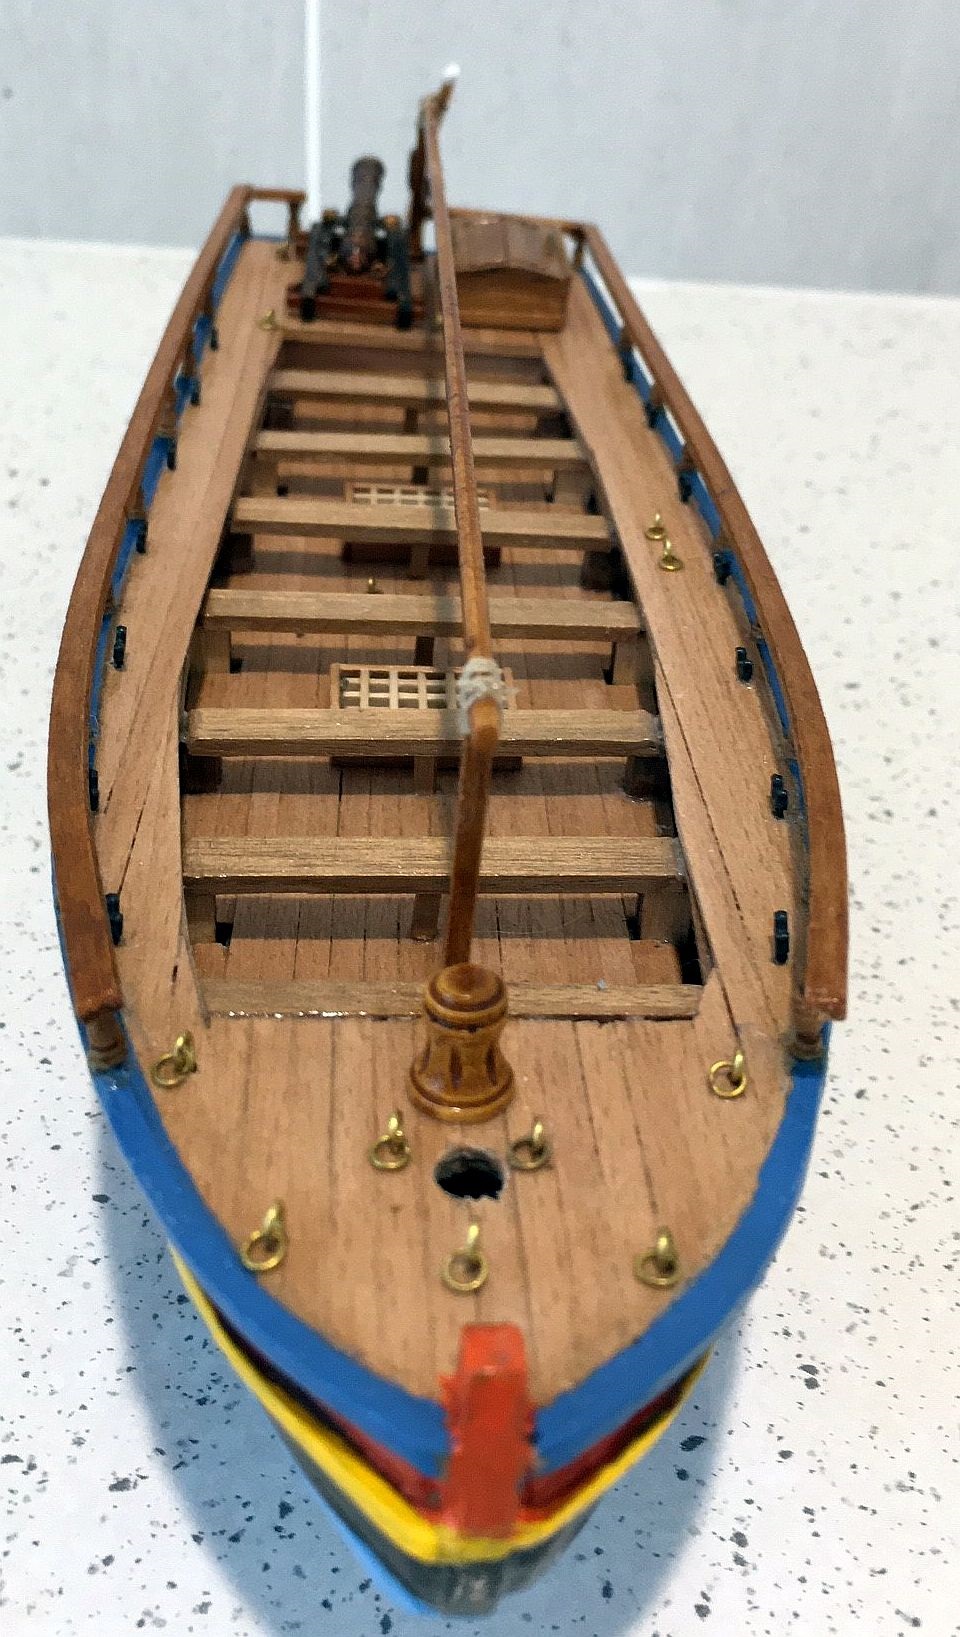
From the profile above, it can be seen the hull form is relatively unusual. It has a bulbous bow which gradually tapers down to a narrow feature after deck. The photo below clearly shows this. Although not so clear in any photograph is that the hull, below the third planking, sheers inwardly forming a distinctive shallowing of the hull at the waterline. The model is a single planked type using 3x1 walnut timber which, as is known, is very prone to splitting during the bending process. Thus caution was used to avoid such, with some success. Nevertheless a great deal of tapering was required from stem to stern as the design required, as can be seen in the profile photo above. It transpired that the timber frames needed considerable attention in order to follow the overall shape.
When this was sanded down to satisfaction, the hull was sealed and then painted in the colours prescribed, prior to any deck work proceeding. The thwarts, as shown, were mounted on small 4x4 walnut blocks on the lower deck, at a suitable height to rest under the upper deck line. The handrail supports - already provided in the kit - had to be mounted close to the edge of the upper deck and then have the 3x2 handrail (again suitably shaped) fitted 'atop'. As the supports were 'minute' it was not possible to underpin them so instant glue had to used top and bottom to ensure a strong finish. During the process of fitting the ringbolts for attaching the rigging, placement of the hatch grids, the windlass and so forth, it was not uncommon to have hands around the hull and hard to avoid pressure on the handrails. Needless to say. they were dislodged on at least three occasions and had to be re-glued! Finally the horizontal boom was secured between a post mounted at the head of the well deck to the aftermost position of the upper deck. It is yet to be confirmed what purpose this serves other than to securethe inner end of the steering arm.
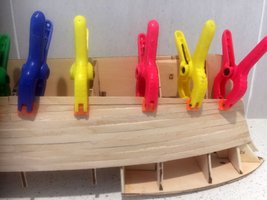
Stern view and rudder construction
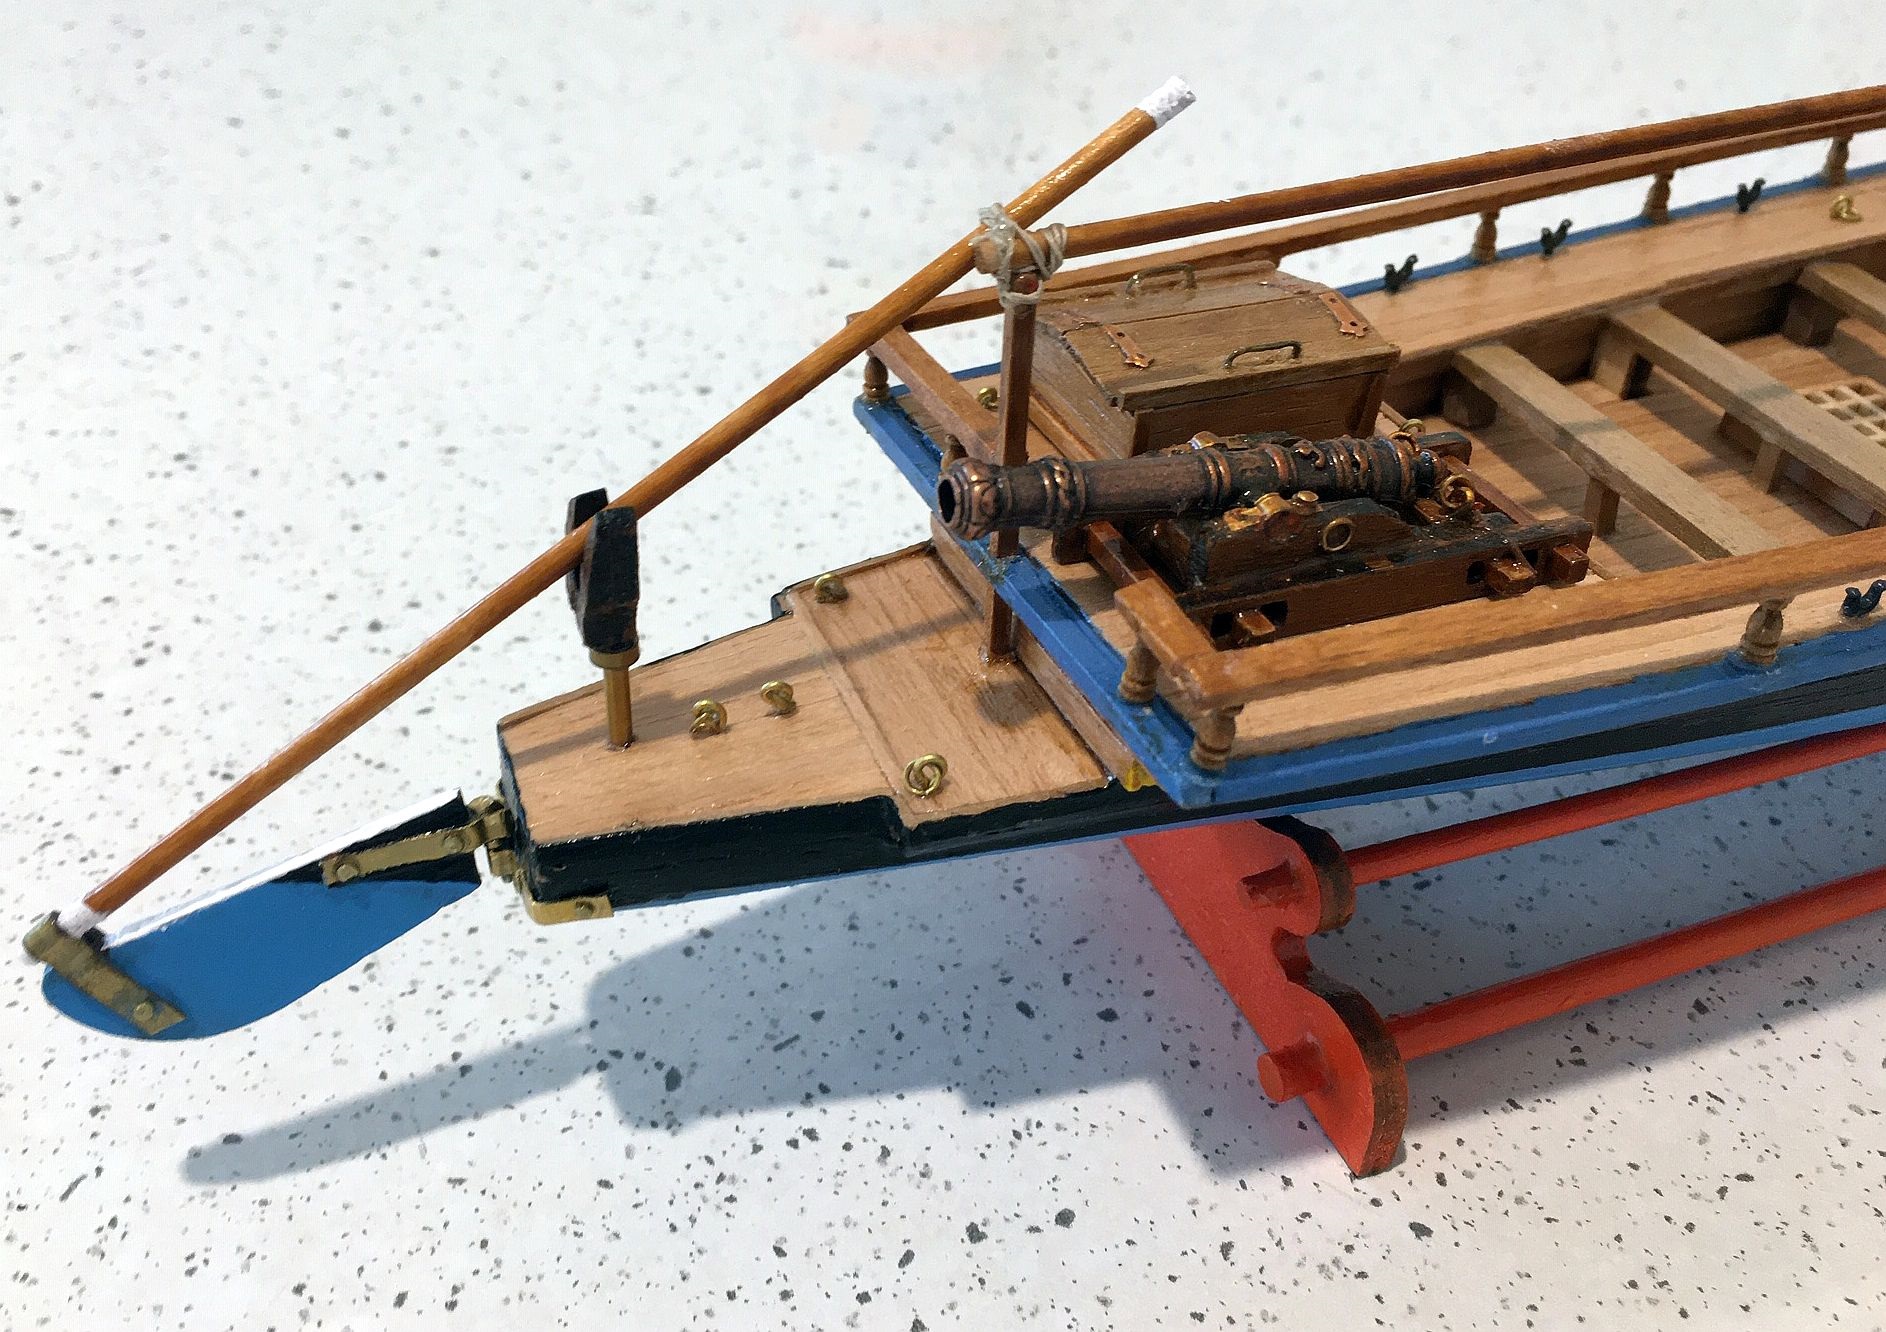
Having not seen a rudder system of this type, and without specific instructions available, it provides an interesting challenge to calculsate the exact angles to fit the rudder hinges and the height and position of the 'V topped' post on which to rest the steering arm. This was achieved by trial and error before glueing into position.
Stage 2 masted and bow rigging complete

Now we see the Foremast and the Mainmast in position and glued. The foremast has its forestay and backstay made fast plus two shrouds on each side rope attached to ringbolts on deck rather than to the traditional channel and dead eye strap.
NOTE: No ratlines can be used on this vessel so no doubt much use made of bosun's chairs!
Stage 2 bow view

In this case, traditional methods are used to rig and secure the anchors although the actual physical processes are hampered by the extreme smallness of the of the components involved.
Stage 2 bow view from starboard side
This aspect shows more clearly the anchor and rigging described above.
updated 18.10.2019
Gunboat completed - profile
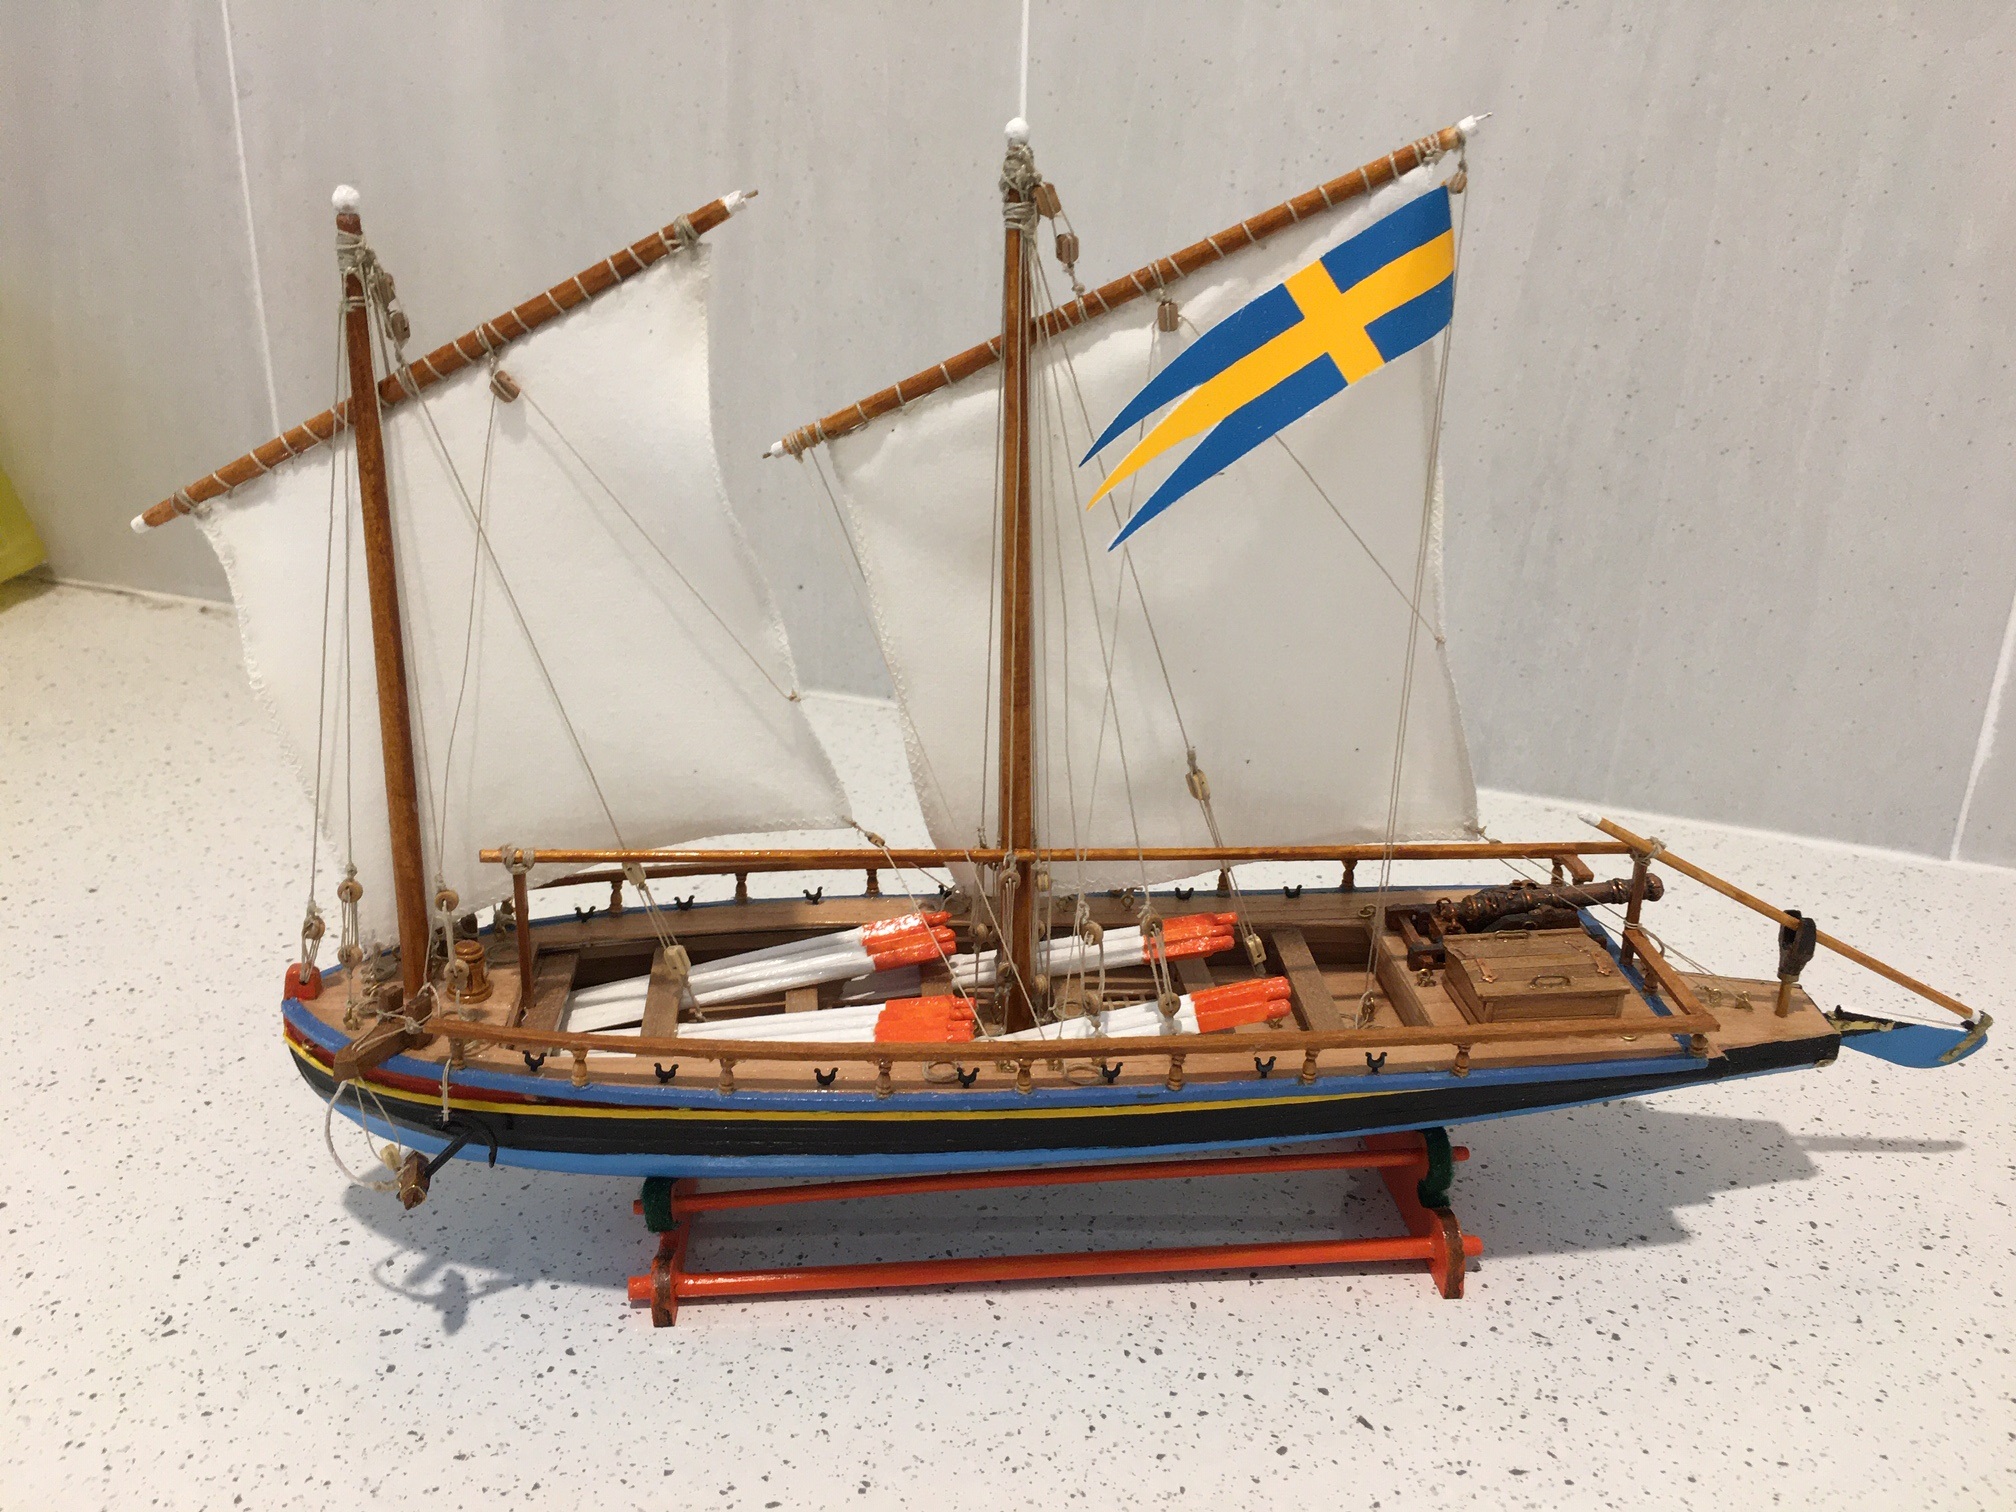
With the completion of the rigging of the foremast and then the mainmast, the next task was to make the sails - their size in accordance with the measurements on the large plan previously described. Being such a small model wih an unusual rig, there had been no really clear indication of the point on which to secure on the plan. However, there is a large clear photograph on the box cover which, unfortunately, has a substantially different rig for the sails. It was found this was much more logical to use and hence adopted. Some adjustments then had to be made to the sails size to allow for the correct angles of setting.
Gunboat completed, overhead view of port side from forrard

Gunboat complete - portside from overhead view from abaft

Since this photo was taken, coiled ropes have been placed on the extreme stern section, to conform with the detail shown in the box cover photograph.
All that remains now is for a base plate to be made, a perspex cover to be ordered and a nameplate designed, and someone who likes it!!
updated 1.11.2019